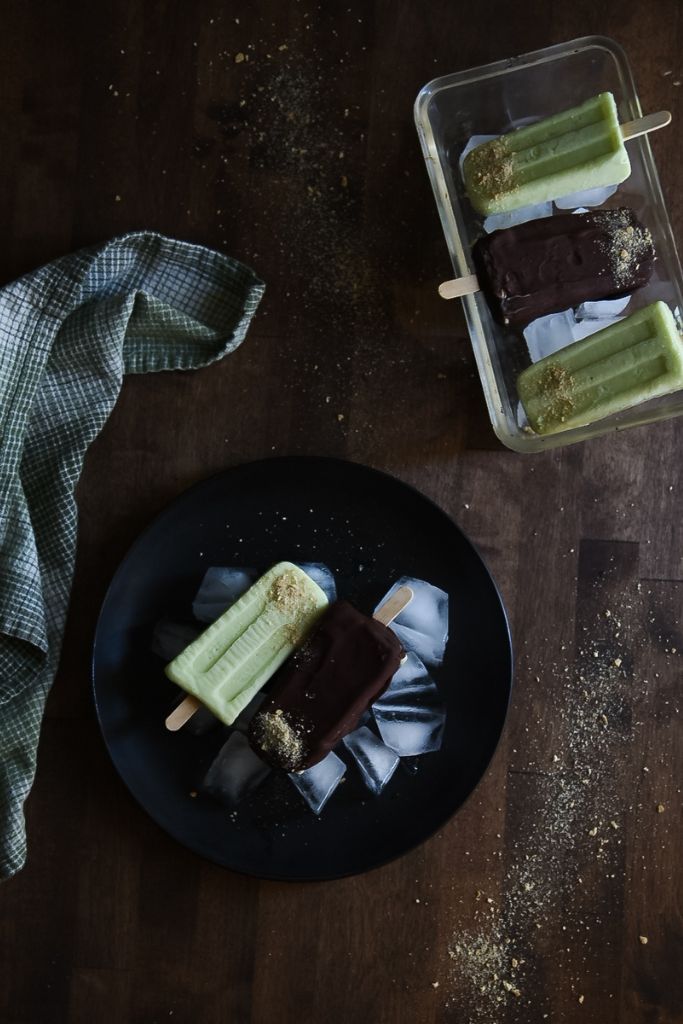
Easy Homemade Key Lime Ice Cream Bars

These Key Lime Ice cream bars are super easy to make and taste amazing. They are the perfect summer treat, that you can make right at home. Plus they take little to no time to make!
As an Amazon Associate, I earn a small commission from qualifying purchases at no extra cost to you. This post may contain affiliate links. For more information see my full disclosure here.
Key lime is one of my favorite flavors, but oddly enough is one of my least favorite pies. Give me key lime yogurt, smoothies, moose, pretty much any key lime flavored thing and I’m a happy girl, just so long as it isn’t a pie.

My love of key lime and my dislike of putting it in a pie is one of the main reasons I created this recipe. I also wanted to try my hand at making more homemade summer treats this year. And mostly because I thought it would be fun and since the popsicles I tried to make turned out terribly, to say the least. I thought I’d go for something easier the second time around. Besides what can I go wrong if you’re starting with ice cream?
Why you should make Ice Cream bars at home
I always believe that homemade is better, and well I wouldn’t quite think of this recipe as being a great homemade from scratch recipe. I do still think they are better than the ones you get in the store.
Making your own ice cream bars means you are the one who gets to decide what goes in them. You get to pick the flavors and toppings and if you are so inclined you can even make them a little bit healthier.
Another great reason to try making ice cream bars at home is the price difference. These bars are easier on the budget but without spoiling the fun and excitement of getting to enjoy an ice cream bar on a hot summer afternoon.
Ice cream bars are super easy to make at home, they take little to no time to make and the possibilities are endless! If that’s not enough of a reason to give them a try, then I really don’t know what would be.

How to Make Key Lime Ice Cream Bars
Ingredients.
1-quart vanilla ice cream(any brand you like), softened
1 12oz container of frozen limeade, thawed
milk to thin
green food coloring, optional
semi-sweet chocolate chips, optional
graham cracker crumbs, optional
Supplies.
popsicle mold
popsicle sticks
Directions.
In a blender combine the softened ice cream and thawed limeade. Blend until smooth, adding a little milk if needed to help it blend easier.
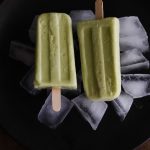
Pour the mixture into a large bowl and slowly add the food coloring(optional)one drop at a time until you reach a green of your liking. I added about four drops to mine.
Pour the mixture into a popsicle mold. I usually get about 12 popsicles per batch. Add the popsicle sticks and place in the freezer for 4-6 hours or overnight.
Once they are frozen solid remove the bars from the mold and place them on a parchment-lined baking sheet, then return them to the freezer. They do melt quite quickly which is why I put them back in the freezer right away for a couple of hours before covering them in chocolate.
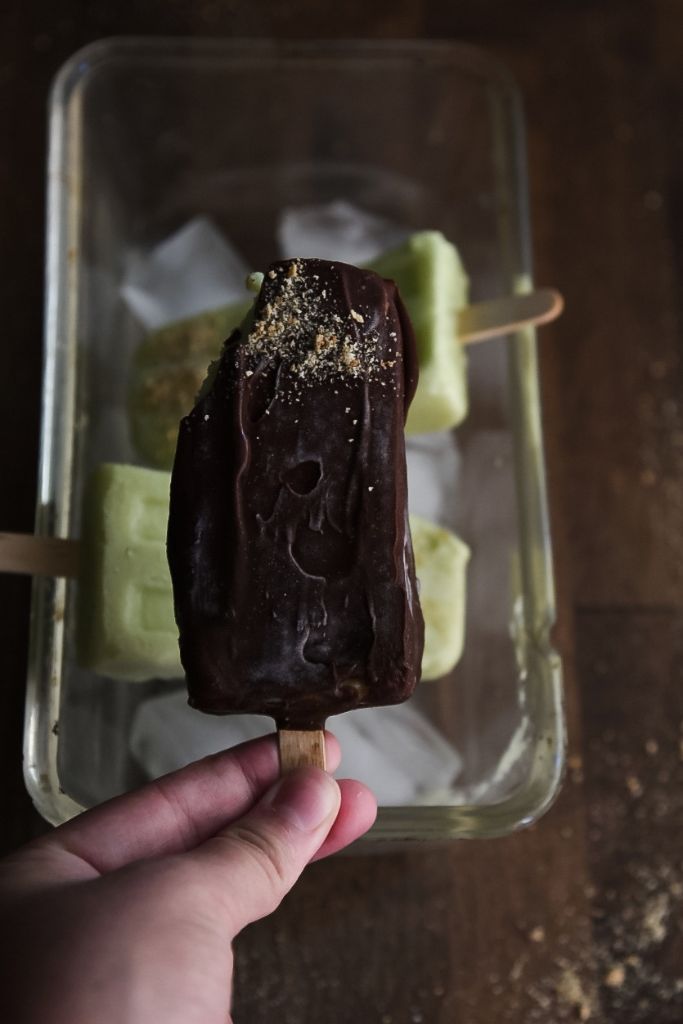
Melt the chocolate chips in a double boiler(or a bowl set in a pan of water on low heat). To cover the bars in chocolate, you can either place the chocolate in a cup or jar and dip each bar into it. Or you can hold the bar other than the bowl of chocolate and spoon the chocolate over the bar.
One thing to note, however, is that you will likely have to scrape off a little chocolate using a spatula otherwise it will be too thick. You can also thin your chocolate using shorting, butter, or coconut oil.
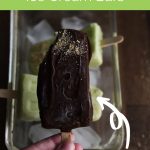
As soon as the bars have been covered in chocolate, sprinkle with graham cracker crumbs and return to the freezer until frozen solid again. Once the bars are frozen again completely you can move them to a freezer bag. Enjoy!
Notes
These will last in the freezer for up to 3 months!
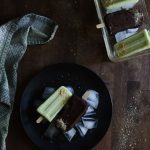
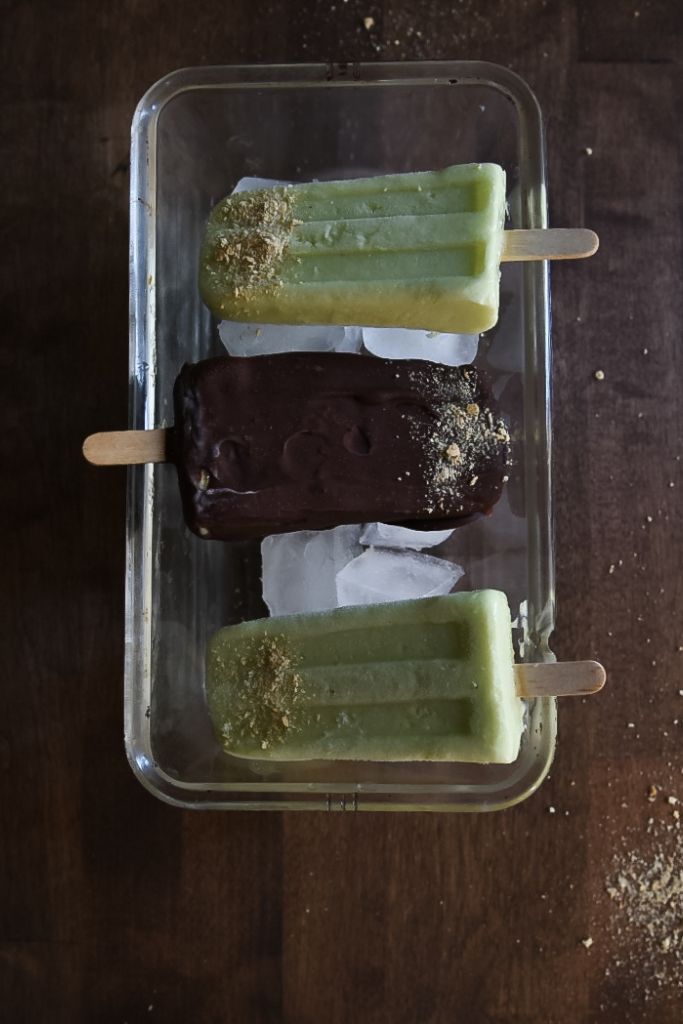
I usually do half the batch in chocolate and leave the other half plain. (I do sprinkle on some graham cracker crumbs when I move them to the baking sheet). Not many people in my family like these with chocolate, but I’ve heard from others that chocolate and key lime are a great combination. So feel free to give it a try or skip the chocolate altogether!
The Easiest Way to get Ice Cream Bars (and Popsicles) out of the mold!
One of my biggest struggles over the years has been trying to get popsicles and bars out of the mold without ruining them. And after many years of trying many ways different ways, I seem to have finally found one that works, and it couldn’t be easier!
Fill a dish roughly the height of your popsicle mold(a bowl, pan, etc) with warm, not hot, but warm water.
Place the mold in the water. The water should come to the top of the mold but not cover it. You don’t want to get the popsicles or bars wet. Let them sit in the water for 20-30 seconds. Wiggle the bar around a little and gently put it out. And that’s it! They come out easier and they don’t lose their shape or melt!
Easy Homemade Key Lime Ice Cream Bars
Equipment
- popsicle mold
- popsicle sticks
Ingredients
- 1- quart vanilla ice cream softened
- 1 12oz container limeade thawed
- milk to thin
- green food coloring optional
- semi-sweet chocolate chips optional
- graham cracker crumbs optional
Instructions
- In a blender combine the softened ice cream and thawed limeade. Blend until smooth, adding a little milk if needed to help it blend easier.
- Pour the mixture into a large bowl and slowly add the food coloring(optional)one drop at a time until you reach a green of your liking. I added about four drops.
- Pour the mixture into a popsicle mold. (I get about 12 popsicles per batch)
- Add the popsicle sticks and place in the freezer for 4-6 hours or overnight.
- Once they are frozen solid remove the bars from the mold and place them on a parchment-lined baking sheet, then return them to the freezer
- If covering in chocolate, Melt the chocolate chips in a double boiler(or a bowl set in a pan of water on low heat).
- To cover the bars in chocolate, you can either place the chocolate in a cup or jar and dip each bar into it. Or you can hold the bar other than the bowl of chocolate and spoon the chocolate over the bar.
- You will have to scrape off a little chocolate using a spatula otherwise it will be too thick. You can also thin your chocolate using shorting, butter, or coconut oil to make covering the bars easier.
- As soon as the bars have been covered in chocolate, sprinkle with graham cracker crumbs and return to the freezer until frozen solid again. And Enjoy!
Notes
Nutrition
Nutrition information is automatically calculated, so should only be used as an approximation.
Those look so yummy! I’ll definitely be making them soon!
Our boys are addicted to popsicles even when it’s -30 out so these will be a welcome addition to the rotation of flavors
I’m glad I’m not the only one who loves cold treats in the dead of winter:) I hope they enjoy them!
Can’t wait to make and try the chocolate one. It looks amazing!
Beautiful Pictures! This would be such a great thing for our summer gatherings!
Yum! Looks delicious! Making this soon!
I hope you enjoy them!
These look TASTY! And so easy to make 😉
These look so delicious! Can’t wait to try them!
My kids LOVE making ice cream at home, I’m sorry we don’t do it more often because it’s a favorite in this house. That chocolate-covered one looks divine! Thanks for all these great tips and the recipe looks really simple.