How To Make A Sourdough Starter From Scratch

This easy-to-follow tutorial on making a sourdough starter from scratch. Is straight to point with clear easy-to-follow instructions that will make making your own sourdough stater fun and easy!

As an Amazon Associate, I earn a small commission from qualifying purchases at no extra cost to you. This post may contain affiliate links. For more information see my full disclosure here.
Making a sourdough starter from scratch may seem intimidating at first but it’s actually super easy to make and maintain a sourdough starter. This Post is a straight-to-the-point tutorial for making a sourdough starter, with a few extras at the end. If you are looking for a more in-depth day-by-day tutorial I’ve got you covered!
My First Seven Days In The Life Of Sourdough Stater. Takes you along as I make a starter from scratch, it also shows you what happens as it changes and ferments into a live active starter.
What Is A Sourdough Starter?
A sourdough starter is made using equal parts water and flour, it is left on the counter to ferment for seven days. During the first seven days, it ferments and grows what is called ‘good’ or ‘friendly’ bacteria and natural yeast. Starter not only replaces the need for regular yeast in most recipes. But it is also known to improve gut health. More on that later though, let’s get to the sourdough first.

Supplies and Ingredients
Flour of choice-I used Einkorn. All-purpose, spelt, rye, and whole wheat also work well.
Filtered Water.
A glass jar or bowl to store the starter in
A glass or wooden measuring cup
A plastic or glass lid OR a tea towel to cover the starter
A wooden spoon or rubber spatula to stir.
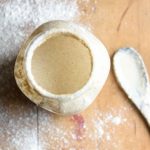
Don’t use anything metal for the starter it reacts badly with the acid in the starter.
It takes roughly seven days for the starter to ferment and be ready to use. You’ll know your starter is alive and ready if it is bubbly and smells both sour and like yeast.

How to make a Sourdough Starter
Day One
On day one, combine equal parts water and flour(I used 1 cup of each) in a jar or a bowl, and mix well. Make sure there aren’t any clumps of flour. Cover with a loose-fitting lid(don’t use anything air-tight) or a tea towel and set it on the counter. Make sure the starter is out of the sun and not left in a spout that is too cold.
Day Two
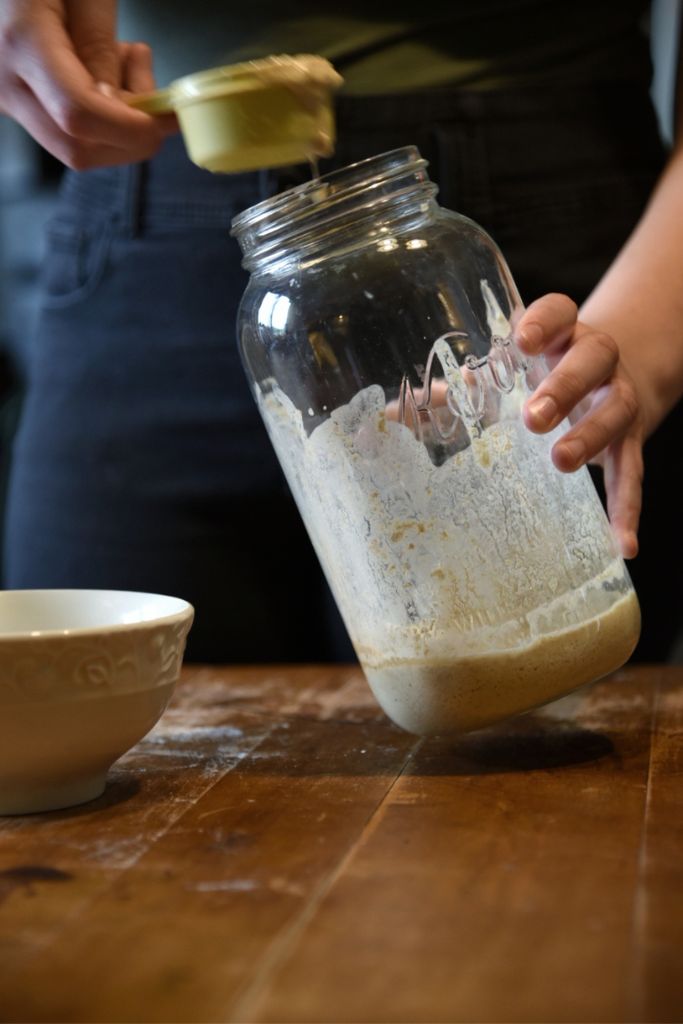
On day two discard half the starter then add another 1 cup flour and 1 cup water, mix well, cover, and return to its spot on the counter.
Day Three through Five
On days 3-5, repeat the same steps that you did on day two. Discard half the starter, feed, stir and cover.
Day Six and Seven
On days 6 and 7, you’ll follow the same steps as before except you’ll feed the starter every 12 hours instead of every 24 hours.
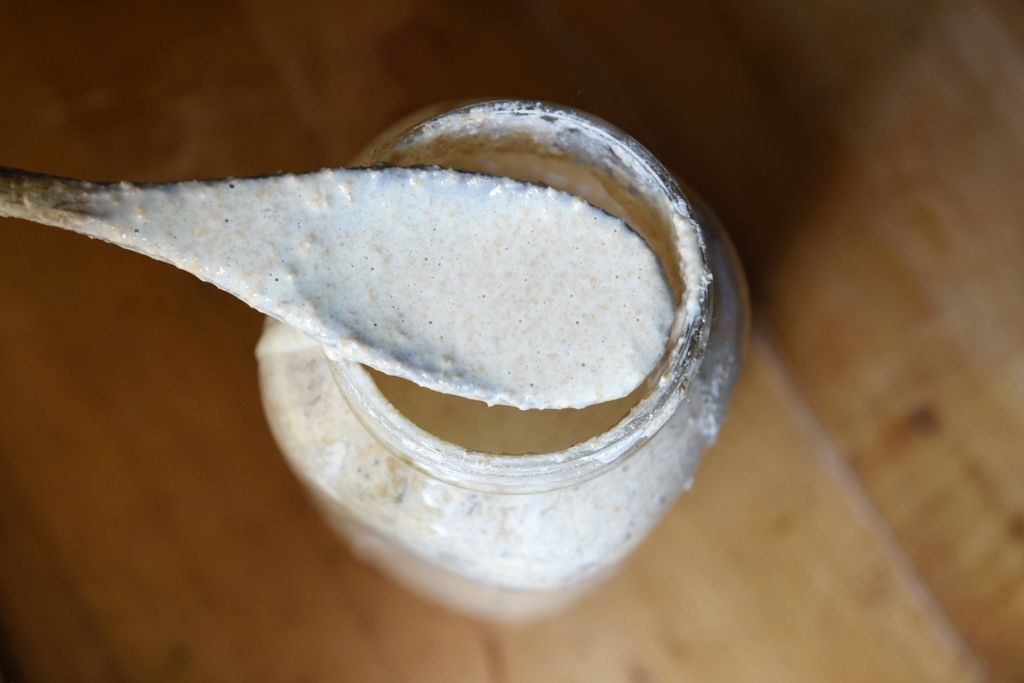
By the end of the week, your starter should be ready. You’ll know it’s ready if it is bubbly, smells sour(and/or like yeast), and has the consistency of a thick pancake batter.
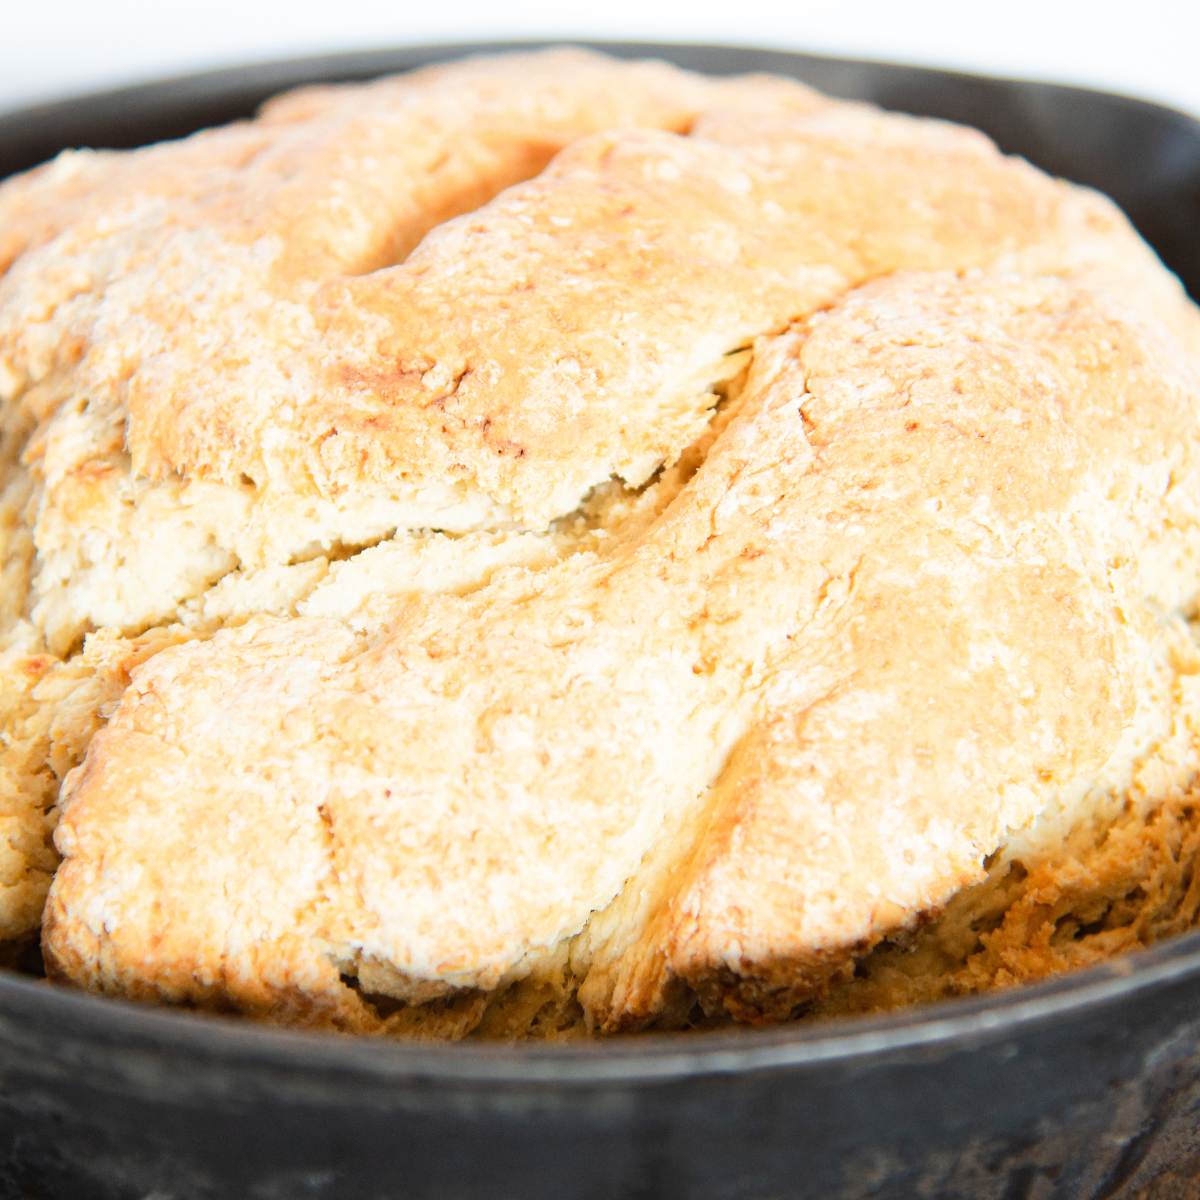
After the first seven days, you should have enough good bacteria and yeast, to start using your sourdough starter for bread, pancakes, and just about anything else that calls for a starter!

How to Maintain your Starter.
There are a couple of options when it comes to how to maintain a sourdough starter.
The first option is to leave your starter on the counter and continue caring for it as you have been without discarding it. Storing a starter on the counter is a great choice if you plan to use your starter every day. However, if you don’t use the starter every day, you soon have the starter overflowing. If it is on the counter the starter will need to be fed every day, even if you aren’t using it. I would recommend going with the second option if you are just starting out with a starter. You can always switch back to keeping it on the counter later on if need be.
Option two is to store the starter in the fridge. This is the most common way of storing and maintaining a starter. But how does it work?
How to keep a Sourdough starter in the fridge
After the first week simply cover your starter if an airtight lid or cover and place it in the fridge. It is best to still feed the starter at least once a week but it can go up to two months without being fed, as keeping it in the fridge slows down the fermentation process.
When you are ready to use your starter simply take it out of the fridge, feed it and leave it to ferment for 4-8hours then use it as planned. For example, I use my starter mostly for pizza and pancakes. Since Friday night is pizza for my family, I will take my starter out Friday morning feed it, set it on the counter to ferment then use it to make pizza that night. If that was all I going to make with it, I would feed it again, leave it on the counter overnight then place it back in the fridge the next morning.
But let’s say I plan to make pancakes the next morning. Then I would still feed the starter and leave it on the counter. But rather than putting it in the fridge the next morning, I would make pancakes. Then I would feed it again and put it back in the fridge Saturday evening.
You can also switch between keeping your starter in the fridge or on the counter as needed.
FAQ
Why Do You Discard Half the Starter?
Primarily because if you didn’t you would have more starter by the end of the week you’d know what to do with. You discard half to keep your starter at a more manageable size, and so you don’t overwhelm yourself. Some people save the discard, but I don’t really see the point, since all you are really doing is creating a second starter which would then defeat the whole purpose of discarding, to begin with.
Do I need to keep Discarding half my Starter after the first seven days?
No, after the first seven days there’s no need to discard half the starter anymore.
What is a hooch?
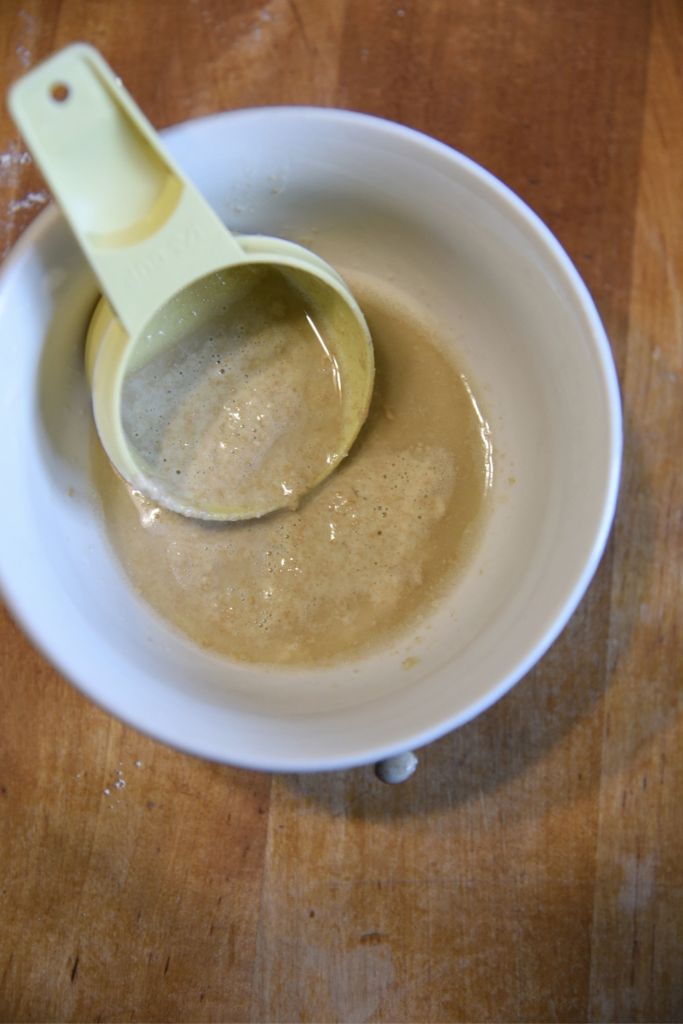
A hooch is what liquid that settles on top of a starter is called. In a way, it is a good thing, as it means your starter is alive but it also means that your starter is hungry. If you notice that your starter has developed one during the first seven days or well it is being stored on the counter(it is quite normal for a starter to have one that is being kept in the fridge). Simply drain it off or stir it in before discarding/feeding for the day. You can then either start feeding your starter more, or you can switch to feeding the starter every 12 hours instead of every 24 hours.
What makes sourdough healthy?
Sourdough is a fermented food and is full of good bacteria. This helps ade digestion, as well as helps, maintain a healthy gut. It also acts as a natural yeast and that is believed to make bread generally easier to digest.
Why Shouldn’t I use metal with my Sourdough starter?
It is best to keep metal away from your starter because metal can react with the acid in the starter and cause the metal to leach into the starter. Some people say that stainless steel is safe to use. But personally, I’ve only ever used glass and wood with my starter and I plan on keeping it that way.
How Should I Store My sourdough starter?
During the first week, your sourdough starter should be stored in a glass bowl or jar on the counter covered with a tea towel or loose-fitting lid. If you are planning to keep your starter on the counter then there is no need to how you are storing it. The lid or tea towel is mostly there to keep out dust and bugs.
If you plan to store your starter in the fridge. Cover it with an airtight or glass lid and place t in the fridge until you are ready to use it.
What if my starter is really thin?
If your starter is too runny add a little more flour at the next feeding. If it is too thick add a little more water at the next feeding. You may have to play around with it a little bit to get to the right consistency. The goal is for it to look like pancake batter.
Don’t Forget To Save For Later!


How To Make A Sourdough Starter From Scratch
Equipment
- Glass jar OR bowl to store your starter in
- Plastic or Glass lid Or A tea towel to cover the stater
- A wooden spoon or rubber spatula to sir
- Don't use anything metal It reacts badly with the acid in the starter
Ingredients
- Flour of choice -I used Einkorn. All Purpose, Whole wheat, Rye and Splet are also great choices
- Filtered Water
Instructions
- On day 1, combine equal parts water and flour(I used 1 cup of each) in a jar or a bowl, and mix well. Make sure there aren't any clumps of flour. Cover with a loose-fitting lid(don't use anything air-tight) or a tea towel and set it on the counter. Make sure the starter is out of the sun and not left in a spout that is too cold.
- On day 2 discard half the starter then add another 1 cup flour and 1 cup water, mix well, cover, and return to its spot on the counter.
- Why Do you Discard Half the Starter?Primarily because if you didn't you would have more starter by the end of the week you'd know what to do with. You discard half to keep your starter at a more manageable size, and so you don't overwhelm yourself. Some people save the discard, but I don't really see the point, since all you are really doing is creating a second starter which would then defeat the whole purpose of discarding, to begin with.
- On days 3-5, repeat the same steps that you did on day two. Discard half the starter, feed, stir and cover.
- On days 6 and 7, you'll follow the same steps as before except you'll feed the starter every 12-hours instead of every 24-hours.
- By the end of the week, your starter should be ready. You'll know it's ready if it is bubbly, smells sour(and/or like yeast), and has the consistency of a thick pancake batter.After the first seven days, you should have enough good bacteria and yeast, to start using your sourdough starter for bread, pancakes, and just about anything else that calls for a starter!
- When it comes to maintaining your starter there are a couple of options. The Frist option is to leave your starter on the counter and continue caring for it as you have been minus discarding it. Storing a starter on the counter is a great choice if you plan to use your starter every day. However, if you don't use the starter every day, you soon have the starter overflowing. If it is on the counter the starter will need to be fed every day, even if you aren't using it. I would recommend going with the second option if you are just starting out with a starter. You can always switch back to keeping it on the counter later on if need be.Option two is to store the starter in the fridge. After the first week simply cover your starter if an airtight lid or cover and place it in the fridge. It is best to still feed the starter at least once a week but it can go up to two months without being fed, as keeping it in the fridge slows down the fermentation process. When you are ready to use your starter simply take it out of the fridge, feed it and leave it to ferment for 4-8hours then use it as planned.For example, I use my starter mostly for pizza and pancakes. Since Friday night is pizza for my family, I will take my starter out Friday morning feed it, set it on the counter to ferment then use it to make pizza that night. If that was all I going to make with it, I would feed it again, leave it on the counter overnight then place it back in the fridge the next morning.Now if I planned on making pancakes Saturday morning as well, then I would still feed the starter and leave it on the counter. But rather than putting it in the fridge the next morning, I would make pancakes. Then I would feed it again and put it back in the fridge Saturday evening.You can switch between keeping your starter in the fridge or on the counter as needed.
Nutrition information is automatically calculated, so should only be used as an approximation.