Strawberry Rhubarb Pie Recipe


This classic strawberry rhubarb pie is a quick and simple dessert that is sure to impress! The combination of sweet strawberries, and tart rhubarb, topped with flaky pie crust, creates a delicious pie that is perfect for holidays, picnics, parties, and more!
As an Amazon Associate, I earn a small commission from qualifying purchases at no extra cost to you. This post may contain affiliate links. For more information see my full disclosure here.
A little-known fact about me is that I love strawberry-rhubarb pie. As a matter of fact, it might be my favorite pie of all time. Though Apple is a close second.
There is just something about this pie that is iristably yummy. Maybe it’s the sunny ripened sweet fresh strawberries, or maybe it’s the fact, that it’s a great way to use up extra rhubarb. Or maybe I just love all pie.
There are a lot of possible reasons I love this pie so much. But to be honest I think the biggest reason is that it’s a pie that really only comes once a year.
This pie comes about at that perfect moment when spring and summer collide. When the juiciness of early strawberries, combines with the tartness of the rhubarb, a bit past its season. To create a sweet, downright delicious pie, with a taste that is completely its own.
Less poetically, it’s also great pie, because it is a timeless dessert that is easy to make, needs only a handful of ingredients, and always tastes amazing. No matter where, no matter why.
Plus it can be made with whatever you have on hand, frozen strawberries and rhubarb taste just as good as fresh. And you can use frozen or premade pie crust.
You can use just about anything you like to thicken it. Trust me it’s basically impossible to mess up this amazing pie recipe. Not to mention it’s a recipe that’s perfect for nearly everyone occasion and is sure to be a crowd-pleaser!
Strawberry Rhubarb Pie
Ingredients.
- fresh rhubarb stalks, sliced, you can also use frozen sliced rhubarb.
- fresh or frozen frozen strawberries, sliced
- white sugar
- cornstarch
- pie crusts, I like to use my homemade pie crust recipe, but you can also use store-bought pie crust
- egg wash optional, I usually don’t use one, but it does make the crust look more golden brown
- coarse sugar, for sprinkling on top, optional
How to Make Strawberry Rhubarb Pie
Preheat the oven to 375 degrees F.
In a large bowl combine the sliced strawberries and sliced rhubarb. Add the sugar and cornstarch, mix well, and set aside.
Prepare your crust.
If you are using a premade pie dough, allow it to warm up to room temperature, or at least warm up enough to handle without breaking. If you are making your own pie crust, prepare as usual.
On a lightly floured surface, roll out the bottom crust with a rolling pin, until it is large enough to cover your pie dish. Carefully pick it up and lay the crust over the pie dish, and gently press it down so it is touching the bottom.
Roll out the top crust.
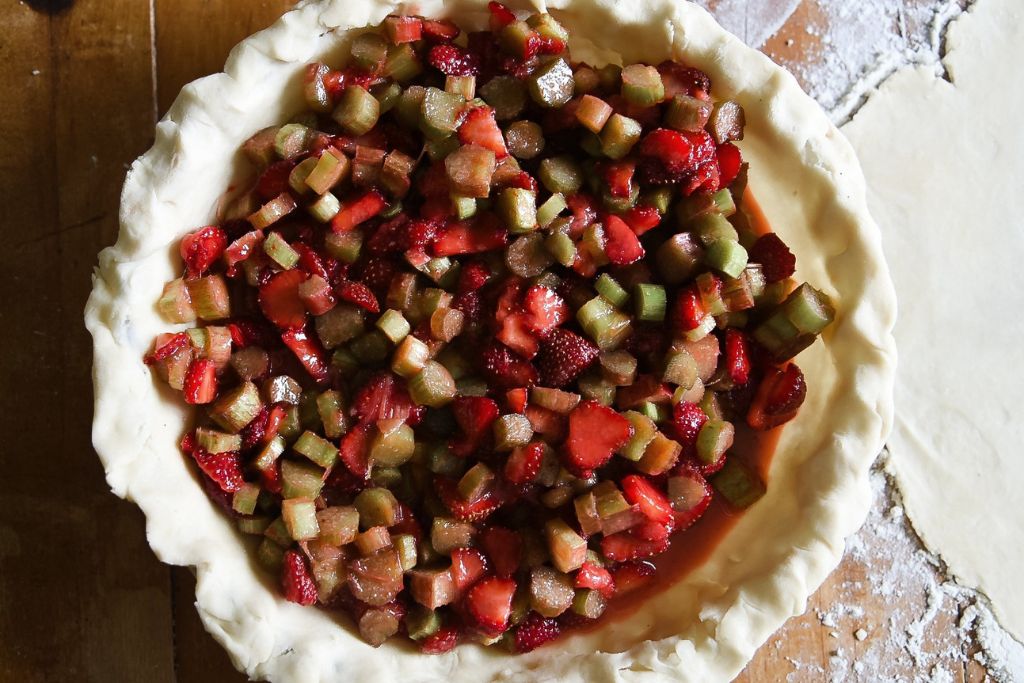
Scoop the strawberry rhubarb pie filling carefully into the pie dish. Be sure to scrap out the bowl with a spatula to make sure you can as much of the juice and sugar as possible.
Gently lay the top crust over the top of the filling.
Trim and crimp the crust, you can also make a lattice top if you like.
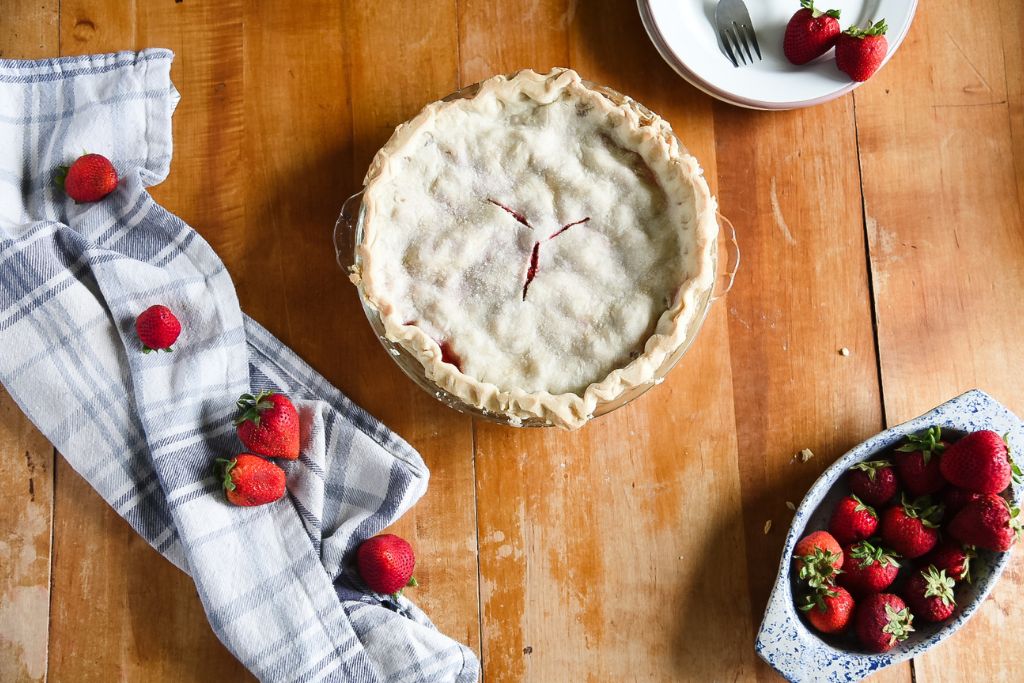
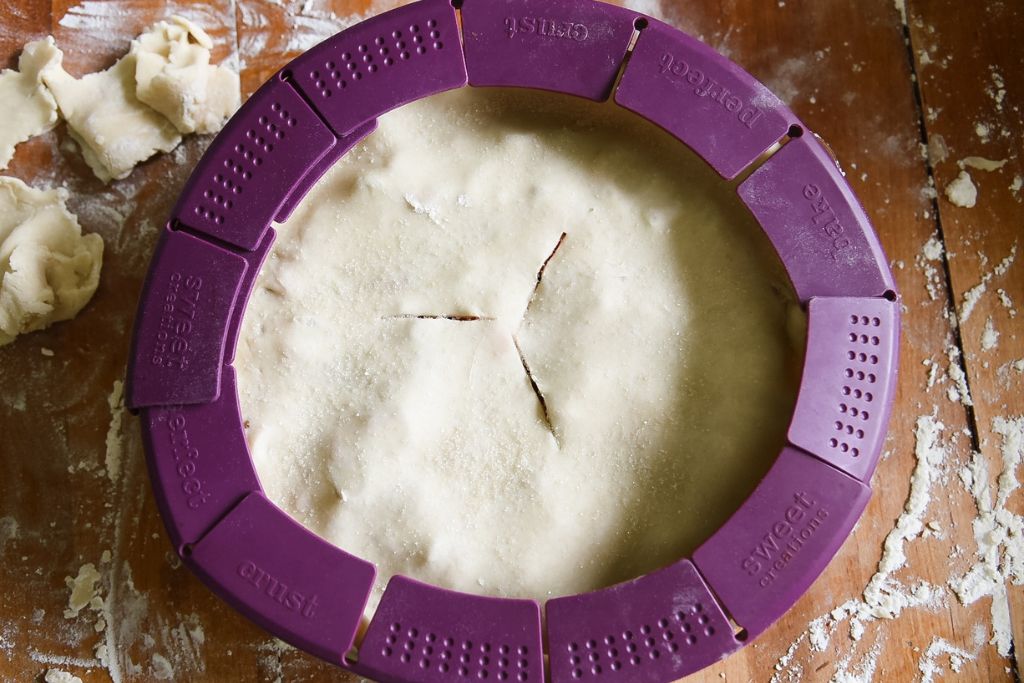
Poke a few holes in the top crust with a fork, or carefully cut 3-4 slits in the crust with a sharp knife. If you are using any egg wash, brush it over the top of the pie crust.
Sprinkle some sugar over the top, then cover the edges of the crust with aluminum foil or a silicone pie shield. Another thing I like to do when making fruit pies is line a large-rimmed baking sheet with foil and place it on the rack before the pie. This catches any spills and makes for super easy cleanup!
Place the pie in the oven and bake for 25 minutes. Remove the foil or silicone pie shield and bake for another 25 minutes, or until the crust has turned a light golden color.
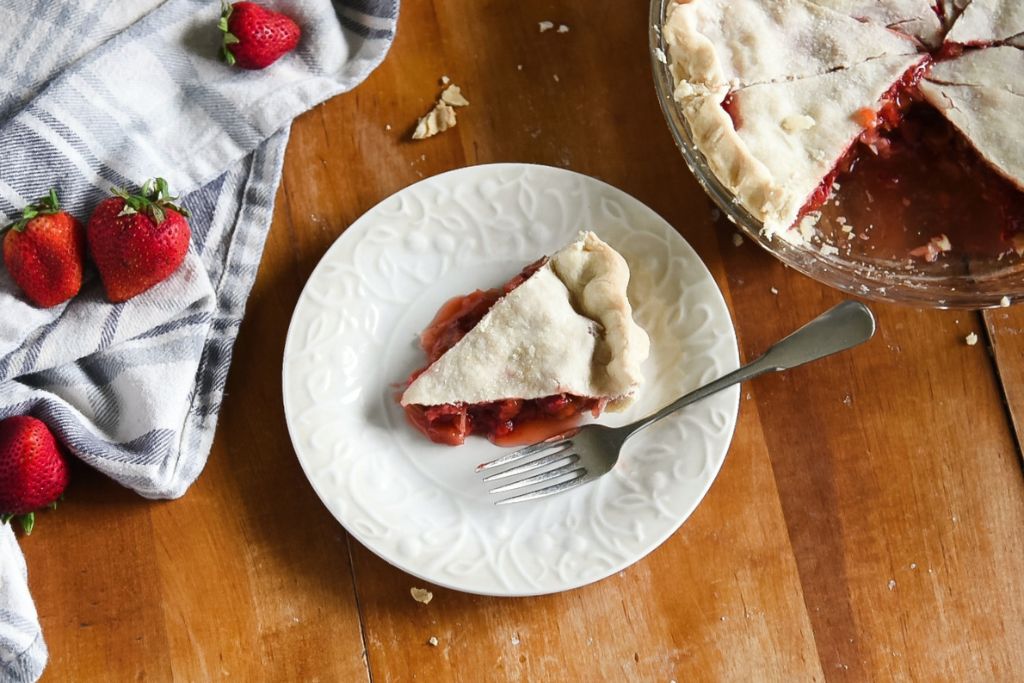
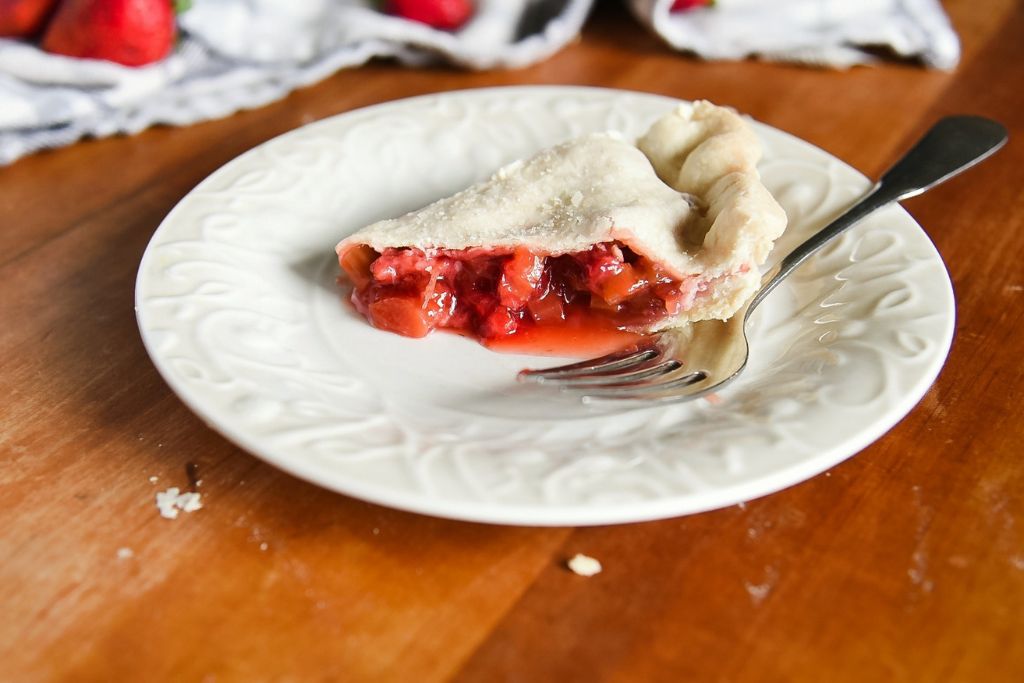
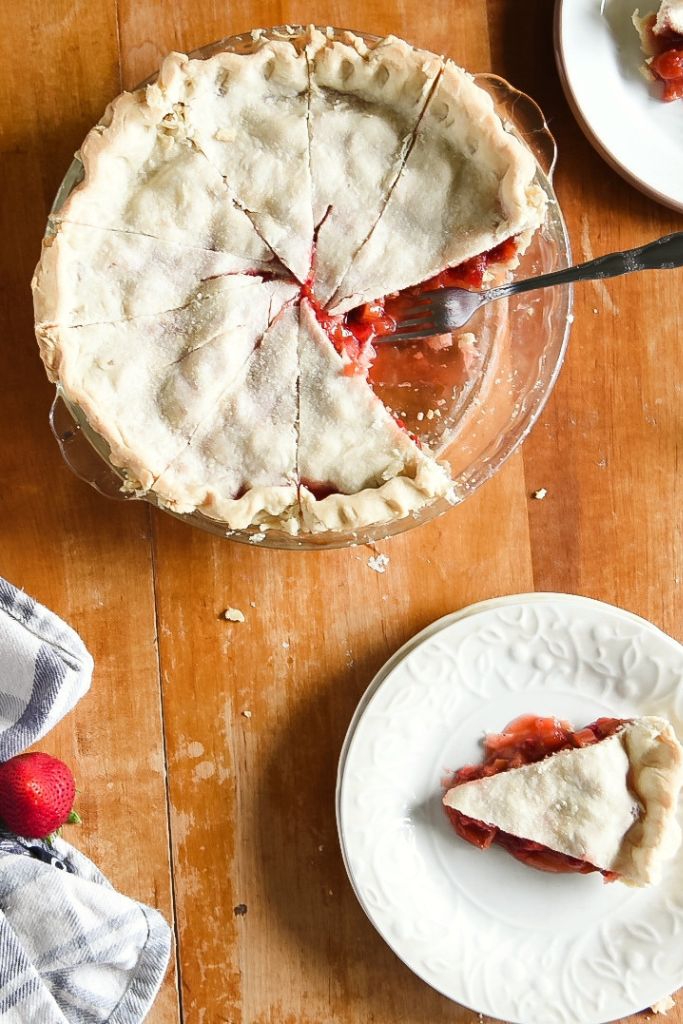
Allow the pie to cool for 15-20min. before serving. Or allow it to set up at room temperature overnight to set up, then cut and serve.
Enjoy!
Recipe Notes
Any leftover pie can be wrapped in plastic wrap or placed in an airtight container and stored at room temperature for up to 3 days!
Be sure not to let the filling sit in the crust too long before baking, to avoid soggy crusts, only add the filling once the top crust is ready, and try to bake the pie as soon as possible.
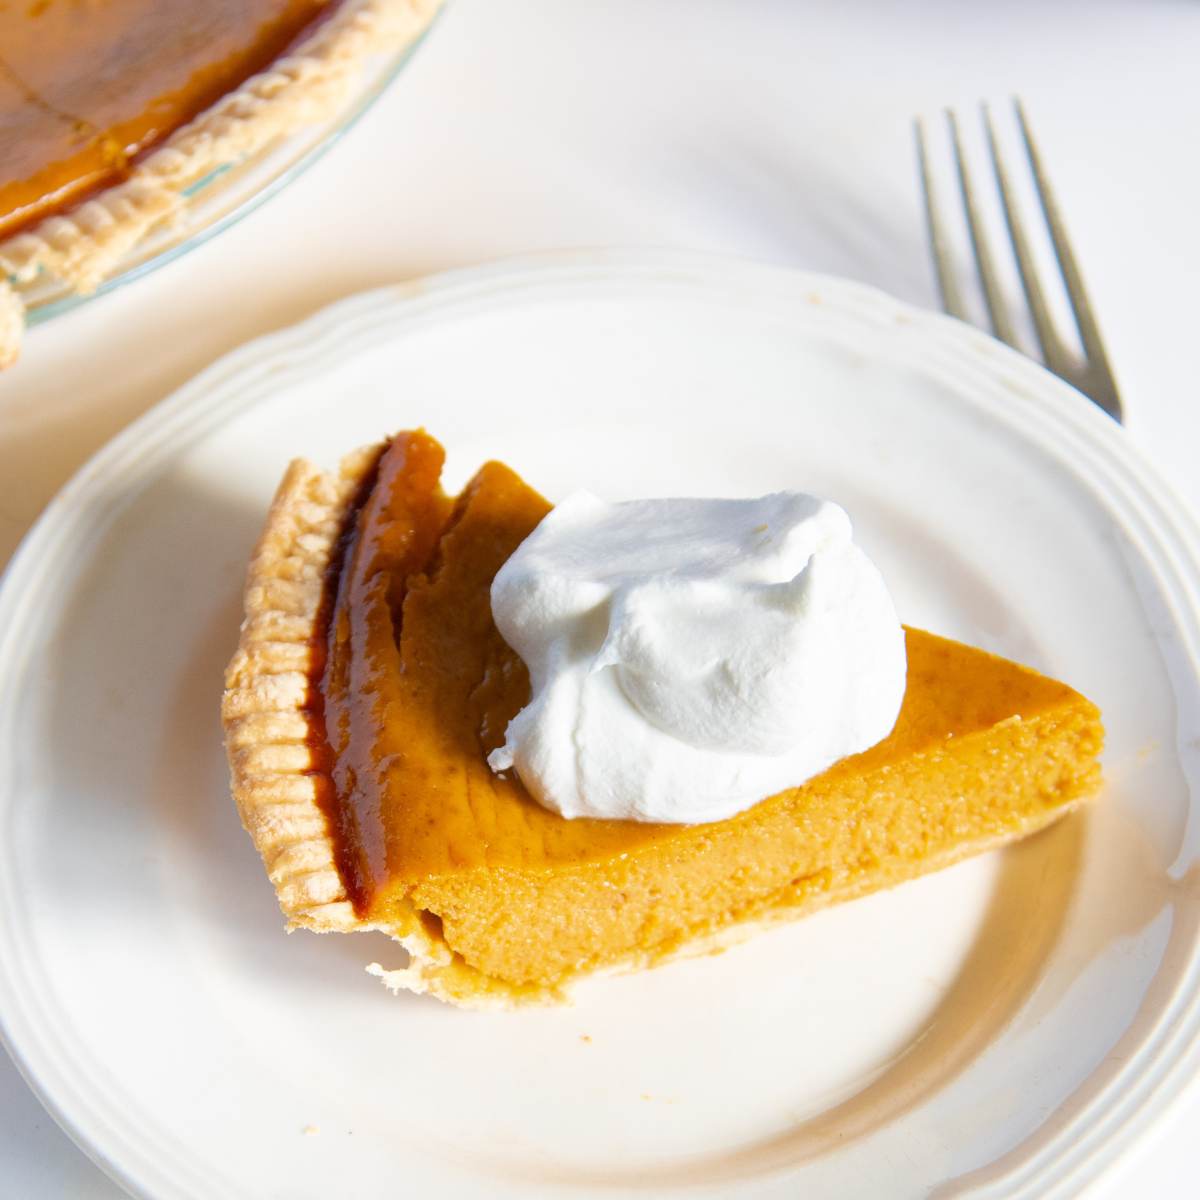
I love to serve this pie warm with a scoop of vanilla ice cream. Or a large spoonful of homemade whipped cream. To make your own homemade whipped cream, simply combine, 1 cup heavy cream, 2 tbsps powdered sugar, and 3 tsp vanilla extract in a large bowl. Beat using an electric mixer at high speed until stiff peaks form.
This pie can easily be heated, simply heat uncovered in the oven at 250 degrees F for 15 minutes or until warm.
You can use any type of egg wash for this recipe, my favorite is to make an egg wash of egg yolk with a little water. As I feel this method creates the best golden color!
Tips and Tricks.
Use cornstarch for fruit/berry pies.
I’ve tried just about everything under the sun to get fruit pies to thicken. All purpose flour, tapioca pudding. Even things like draining the juice, and cooking the filling before adding it to the pie. And I can honestly tell you that nothing works better than corn starch. It never fails me, it gives fruit pies the perfect texture. And you can also replace the flour/.thickening in basically any pie recipe with cornstarch. I would recommend using 2-3 tbsp. of cornstarch for every 1/4 -1/3 cup of flour. You may have to play around with it a little but I promise it will be worth it in the end. This is my favorite non-GMO cornstarch to use!
What if I am using Frozen fruit/berries?
If you use frozen fruit/berries instead of fresh, you don’t need to be anything different. There is no need to thaw the fruit ahead of time. Simply make the pie the same as you would if you were using the fresh fruit. The only thing to watch for is that the filling may need to sit for a few extra minutes, to ensure that the fruit has started to break down and release its juices.
How to avoid spills in the oven.
I mentioned this above, but I can’t help mentioning it again, as it is my favorite pie hack. I do this just about every time I make a pie but especially when I am making fruit/berry pies. Line a large-rimmed baking sheet with foil(you can also use parchment paper) and place it on the rack below the pie. This way if your pie spills over, it will spill onto the baking sheet instead of the bottom of your oven! And you can simply toss the foil or parchment paper then you are done.
Tip for using a silicone pie shield.
Personally, I love using these pie shields, I find them to be super easy and handy. I would like to mention though that they are super hot when they come out of the oven and they usually hold their heat for a long time. Be sure to remove the shield from your pie with a hotpot holder to avoid getting burned. I also like to put mine right in the sink and run cold water over it to help avoid any risk of someone getting burned.

Be sure to check out these pie recipes too!
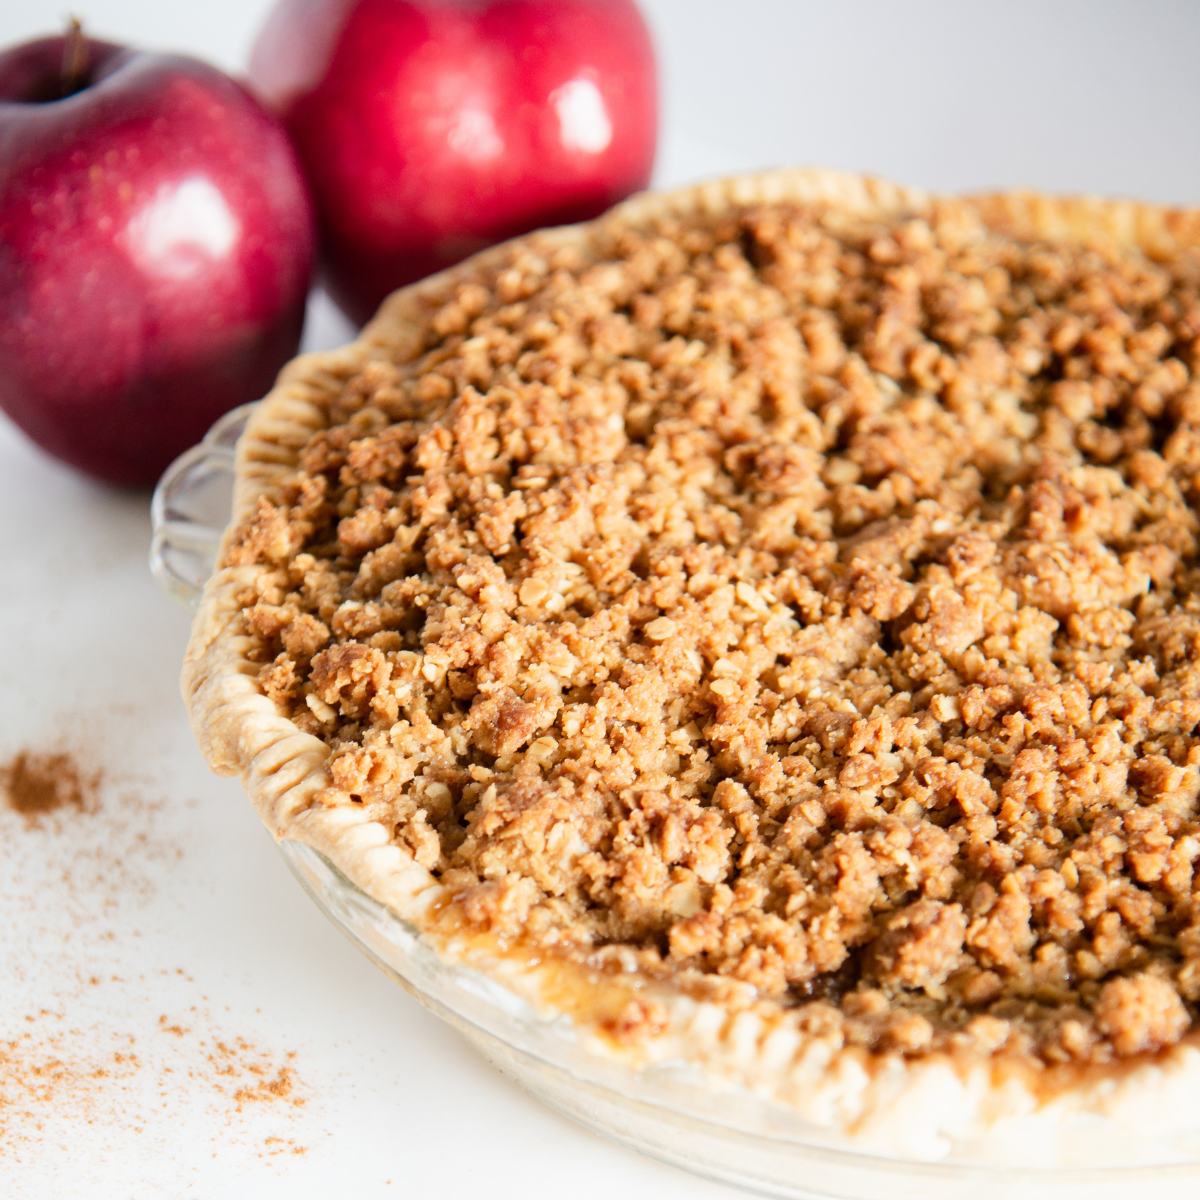
Homemade Apple Pie with McIntosh Apples
Rhubarb Pie – Made with fresh rhubarb!

Strawberry Rhubarb Pie
Ingredients
- 3 cups fresh rhubarb stalks, sliced, you can also use frozen sliced rhubarb.
- 2 cups fresh or frozen strawberries sliced
- 1 1/4 cups white sugar
- 3 tbsp cornstarch
- 2 8-inch pie crusts I like to use my homemade pie crust recipe, but you can also use store-bought pie crust
- egg wash, optional I usually don’t use one, but it does make the crust look more golden brown
- coarse sugar, for sprinkling on top optional
Instructions
- Preheat the oven to 375 degrees F.
- In a large bowl combine the sliced strawberries and sliced rhubarb. Add the sugar and cornstarch, mix well, and set aside.
- Prepare your crust
- If you are using a premade pie dough, allow it to warm up to room temperature, or at least warm up enough to handle without breaking. If you are making your own pie crust, prepare as usual.
- On a lightly floured surface, roll out the bottom crust with a rolling pin, until it is large enough to cover your pie dish. Carefully pick it up and lay the crust over the pie dish, and gently press it down so it is touching the bottom.
- Roll out the top crust
- Scoop the strawberry rhubarb pie filling carefully into the pie dish. Be sure to scrap out the bowl with a spatula to make sure you can as much of the juice and sugar as possible.
- Gently lay the top crust over the top of the filling.
- Trim and crimp the crust, you can also make a lattice top if you like.
- Poke a few holes in the top crust with a fork, or carefully cut 3-4 slits in the crust with a sharp knife. If you are using any egg wash, brush it over the top of the pie crust.
- Sprinkle some sugar over the top, then cover the edges of the crust with aluminum foil or a silicone pie shield. Another thing I like to do when making fruit pies is line a large-rimmed baking sheet with foil and place it on the rack before the pie. This catches any spills and makes for super easy cleanup!
- Place the pie in the oven and bake for 25 minutes. Remove the foil or silicone pie shield and bake for another 25 minutes, or until the crust has turned a light golden color.
- Allow the pie to cool for 15-20min. before serving. Or allow it to set up at room temperature overnight to set up, then cut and serve.
- Enjoy!
Notes
Nutrition
Nutrition information is automatically calculated, so should only be used as an approximation.