Black Forest Cheesecake Recipe
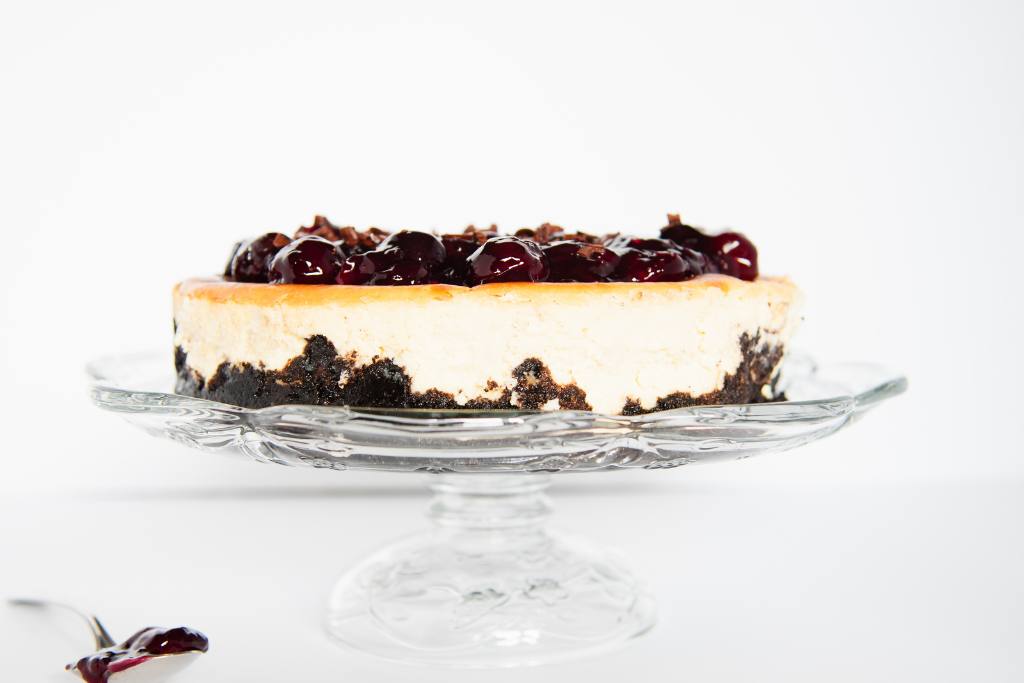
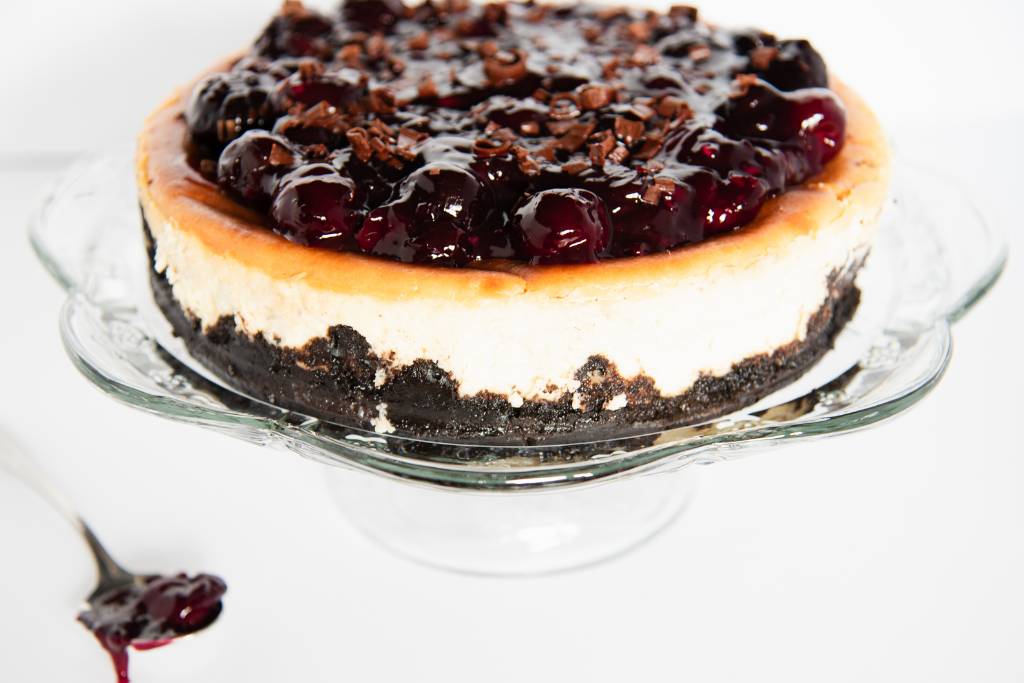
This delicious black forest cheesecake recipe is sure to be a hit! With its chocolate Oreo crust, creamy cheesecake, and cherry topping, this easy dessert is delicious, fun, and impressive!
As an Amazon Associate, I earn a small commission from qualifying purchases at no extra cost to you. This post may contain affiliate links. For more information see my full disclosure here.
I probably don’t need to say it again, after all, if you know me then you know I’m a huge cheesecake fan. But I’ll probably be saying this till the day I die, so I might as well say it now. I love cheesecake. Any kind, anywhere, day or night, I’m always down for a piece of cheesecake.
I know I’m not alone in my love for cheesecake, but I am always surprised to learn just how many people don’t know that making cheesecake at home is super simple.
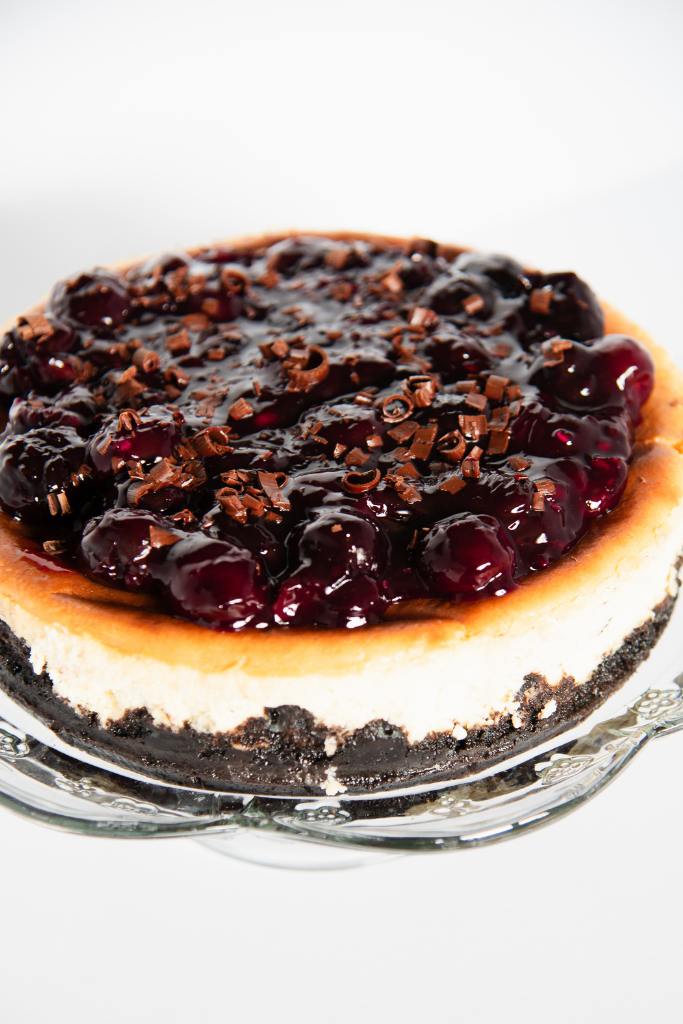
Even if you’ve never baked before, with just a little practice and a few tips and tricks, you’ll be turning out perfect cheesecakes in no time!
And though this recipe might seem a little long, I promise it’s actually super easy to follow, making a baked cheesecake is a lot simpler than most people think and tastes so much better than anything you’ll ever get from the store!
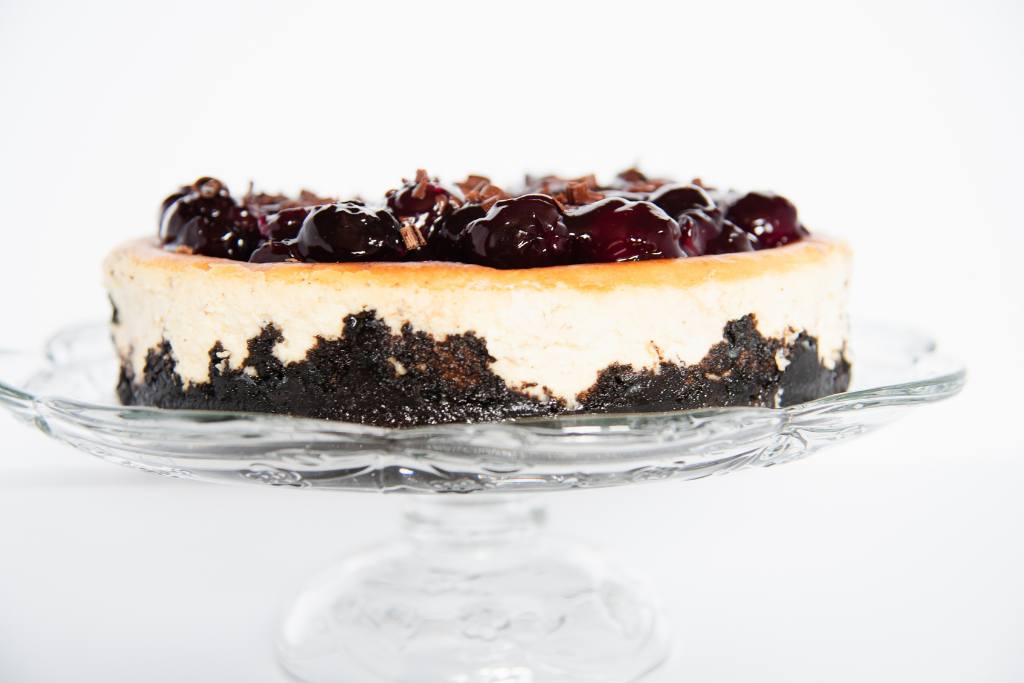
This black forest cheesecake combines everything I love about a good cheesecake with the classic black forest cake, to a create decent dessert that is sure to be a hit! Plus this recipe is perfect for parties, not only is it an impressive dessert but it’s also a delicious one!
So without further ado let’s get down to it. Even if this is your first time baking anything, just follow the instructions below, and I promise you’ll have a rich and creamy perfectly baked homemade cheesecake in no time!
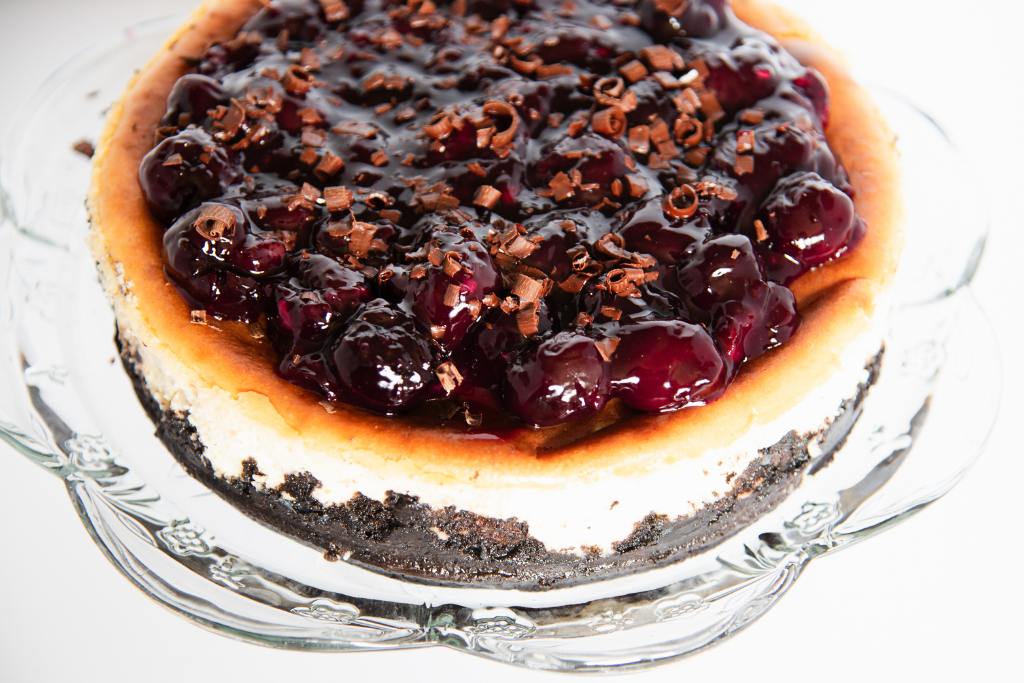
Black Forest Cheesecake Recipe
Equipment
- food processor
- 9′ Springform pan also called a cheesecake pan
- electric mixer
- a large mixing bowl
- a rubber spatula
- parchment paper
- aluminum foil
- a pan large enough to fit your cheesecake pan for the water bath – I use a cast iron skillet for this, but a casserole dish or large roasting pan will also work well. The pan can be glass, cast iron, or Aluminized Steel. It just needs to be wide enough to hold the cheesecake and deep enough to hold 2-3 inches of water
Ingredients
For the crust
- Oreo cookies, I used regular cookies, but you can also use double-stuffed, thin, or even chocolate Oreos!
- melted butter
Cheesecake Filling
- cream cheese softened, be sure to use a full-fat cream cheese
- sugar
- sour cream
- vanilla extract
- eggs
Homemade Cherry Pie Filling
- frozen whole cherries, thawed, You can also use pitted fresh cherries, canned cherries, or even black cherries for this recipe
- sugar
- water
- corn starch + water
- chocolate shavings or chocolate curls, for serving
How to Make Black Forest Cheesecake
In a small saucepan over medium heat, cook the thawed cherries(and their juice), water, and sugar, stirring often, until the sugar is completely dissolved and the mixture is boiling.
Reduce the heat, and in a small bowl combine the cornstarch and water, to create a cornstarch slurry. Pour the slurry into the hot cherry mixture, and continue to simmer, stirring constantly until the mixture thickens, about 3-4 minutes.
Once the mixture has thickened, it should be the consistency of canned pie filling. Remove the pan from the heat, and allow the mixture to cool for 10-15 minutes before transferring it to a container and placing it in the fridge to finish cooling or until ready to use.
Preheat the oven to 475 degrees Fahrenheit.
Place a large piece of foil over the bottom of the cheesecake pan. (it should cover about 2/3 of the outside sides of the pan as well)
Line the inside bottom with parchment paper. To do this easily, flip the pan upside down and trace a circle on a piece of parchment with a pencil. Cut along the outside of the traced circle and place the finished circle in the bottom of the cheesecake pan.
In a food processor(see note if you don’t have one), pulse the Oreo cookies, until they are fine crumbs. Place the crumbs in a making bowl and pour in the melted butter. Using your hands or a fork mix until the crumbs are completely coated in butter. Oreo cookies tend to soak up a lot of butter, which leaves you with a wet and sticky crust, don’t worry this is how it should be!
Press the crust mixture into the bottom and roughly 1 inch up the sides of the springform pan. If your Oreo crumbs are too sticky try buttering your hands before you start or wearing gloves.
Place the pan in the freezer, to help firm up the crust while you prepare the cheesecake filling.
In a large bowl combine the softened cream cheese, sour cream, sugar, and vanilla extract. Beat with an electric mixer at high speed, until the mixture is smooth and creamy, and there are no lumps of cream cheese. Scrap down the sides of the bowl and mix again.
Add the eggs and beat the mixture on medium speed until completely combined.
Remove the pan from the freezer, and using a rubber spatula scrap the cheesecake filling into the pan. Jiggle the pan around a little to smooth out the top of the cheesecake.
Place the cheesecake in your water bath pan of choice(I use a large cast iron skillet) and fill it with 2-3 inches of water.
Place the pan in the hot oven and bake for 12 minutes.
After 12 minutes reduce the oven temperature to 350 degrees Fahrenheit, and continue baking for 40-50 minutes or until the top is golden brown and the middle is set.
Remove the cheesecake from the oven(and the water bath) and allow it to cool at room temperature for 30 minutes to 1 hour.
Place the cheesecake in the fridge and allow it to chill for 3-4 hours or overnight.
Top the Cheesecake
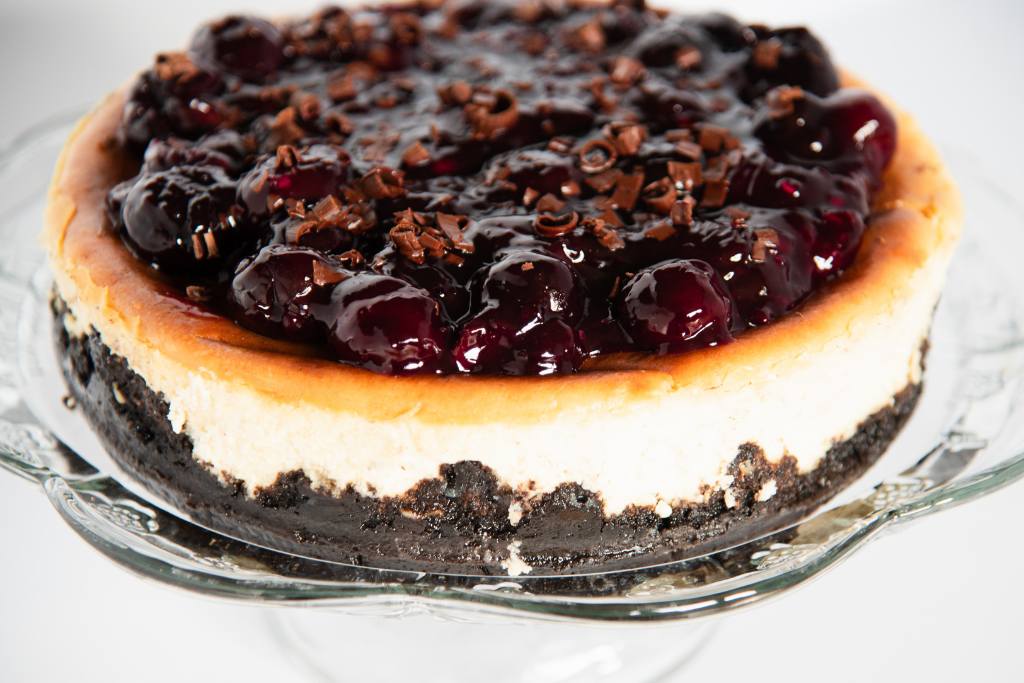
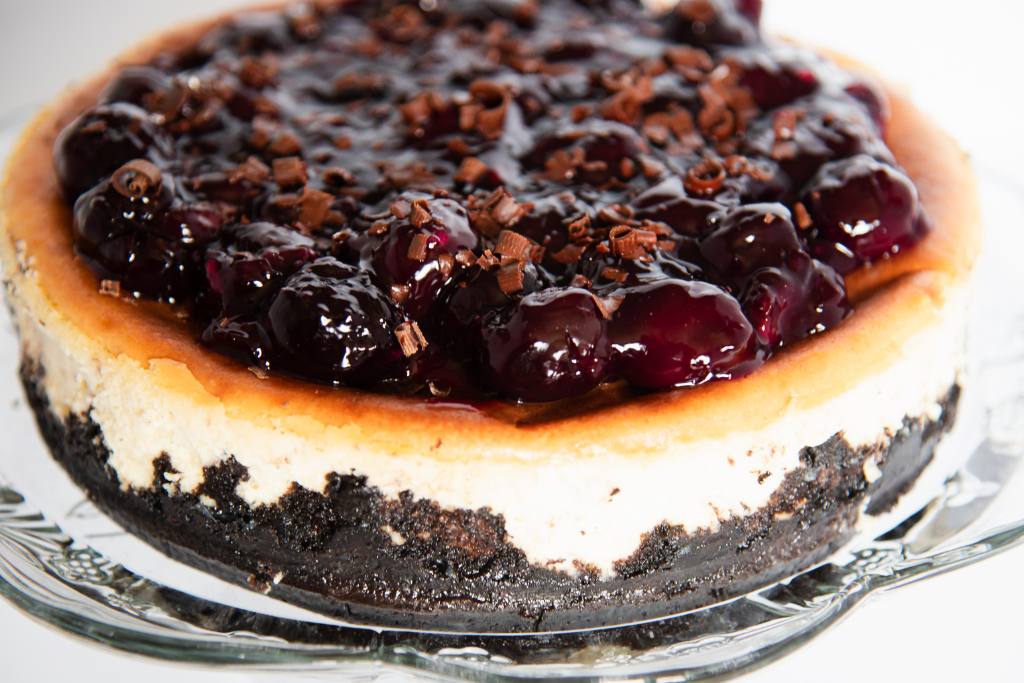
Once the cheesecake has chilled, release the springform pan, and transfer the cheesecake to a plate or cake stand.
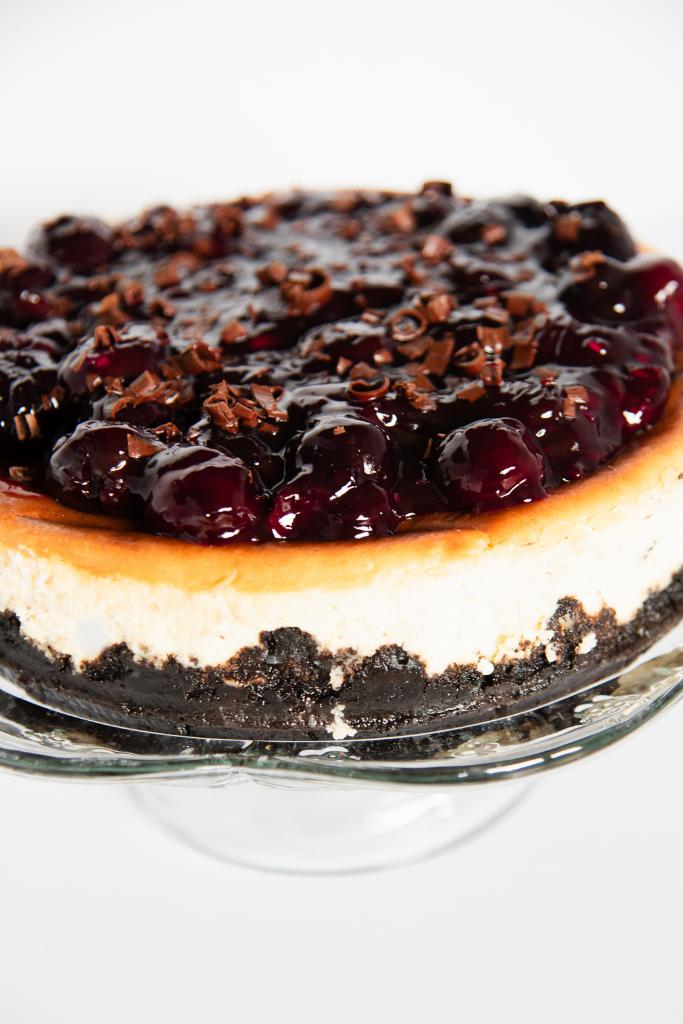
With the back of a spoon gently spread the cooled cherry pie filling over the top in an even layer. Sprinkle with chocolate shavings, then cut into 12 slices, serve, and enjoy!
Recipe Notes
If you don’t have a food processor, you can crush your Oreo cookies, by placing them in a freezer bag and rolling them with a rolling pin until they are completely crushed.
It is tempting to skip the water bath when making cheesecake but it is an important step to follow. Water baths help the cheesecake to bake evenly and help to keep the top from cracking.
Any leftover cheesecake be placed in an airtight container or wrapped in plastic wrap and stored in the fridge for up to 5 days!
If you are serving this cheesecake for any special occasions, you can top it with piped whipped cream, a few fresh cherries, and/or a dusting of cocoa powder! You can also top it with chocolate chips, a drizzle of melted chocolate, or cookie crumbs!
If you are in pitch you can use canned pie filling from the store in place of the homemade cherry filling!
Looking for more cheesecake recipes to try?
Easy homemade cheesecake recipe
The best chocolate cheesecake recipe | with Oreo crust
Healthy no-bake cheesecake bars with cookie dough crust
Black Forest Cheesecake
Equipment
- food processor
- 9′ Springform pan also called a cheesecake pan
- electric mixer
- a large mixing bowl
- a rubber spatula
- parchment paper
- aluminum foil
- a pan large enough to fit your cheesecake pan for the water bath – I use a cast iron skillet for this, but a casserole dish or large roasting pan will also work well. The pan can be glass, cast iron, or Aluminized Steel. It just needs to be wide enough to hold the cheesecake and deep enough to hold 2-3 inches of water
Ingredients
For the Oreo Crust
- 2 cups oreo crumbs see instructions
- 1/3 cup unsalted butter melted
For the Cheesecake Filling
- 4 8-oz blocks cream cheese softened
- 1 1/4 cups white sugar
- 1/2 cup sour cream
- 2 tsp vanilla extract
- 5 eggs
For the Homemade Cherry Pie Filling/Cherry topping
- 2 cups frozen whole pitted cherries thawed, You can also use pitted fresh cherries, canned cherries, or even black cherries for this recipe
- 1/3 cup white sugar
- 1/8 cup water
- 2 tbsp cornstarch + 2 tbsp water for the cornstarch slurry
Instructions
Prepare the pie filling
- In a small saucepan over medium heat, cook the thawed cherries(and their juice), water, and sugar, stirring often, until the sugar is completely dissolved and the mixture is boiling.
- Reduce the heat, and in a small bowl combine the cornstarch and water, to create a cornstarch slurry. Pour the slurry into the hot cherry mixture, and continue to simmer, stirring constantly until the mixture thickens, about 3-4 minutes.
- Once the mixture has thickened, it should be the consistency of canned pie filling. Remove the pan from the heat, and allow the mixture to cool for 10-15 minutes before transferring it to a container and placing it in the fridge to finish cooling or until ready to use.
Make the Crust
- Preheat the oven to 475 degrees Fahrenheit.
- Place a large piece of foil over the bottom of the cheesecake pan. (it should cover about 2/3 of the outside sides of the pan as well)
- Line the inside bottom with parchment paper. To do this easily, flip the pan upside down and trace a circle on a piece of parchment with a pencil. Cut along the outside of the traced circle and place the finished circle in the bottom of the cheesecake pan.
- In a food processor(see note if you don’t have one), pulse the Oreo cookies, until they are fine crumbs. Place the crumbs in a making bowl and pour in the melted butter. Using your hands or a fork mix until the crumbs are completely coated in butter. Oreo cookies tend to soak up a lot of butter, which leaves you with a wet and sticky crust, don’t worry this is how it should be!
- Press the crust mixture into the bottom and roughly 1 inch up the sides of the springform pan. If your Oreo crumbs are too sticky try buttering your hands before you start or wearing gloves.
- Place the pan in the freezer, to help firm up the crust while you prepare the cheesecake filling.
Make the cheesecake
- In a large bowl combine the softened cream cheese, sour cream, sugar, and vanilla extract. Beat with an electric mixer at high speed, until the mixture is smooth and creamy, and there are no lumps of cream cheese. Scrap down the sides of the bowl and mix again.
- Add the eggs and beat the mixture on medium speed until completely combined.
- Remove the pan from the freezer, and using a rubber spatula scrap the cheesecake filling into the pan. Jiggle the pan around a little to smooth out the top of the cheesecake.
- Place the cheesecake in your water bath pan of choice(I use a large cast iron skillet) and fill it with 2-3 inches of water.
- Place the pan in the hot oven and bake for 12 minutes.
- After 12 minutes reduce the oven temperature to 350 degrees Fahrenheit, and continue baking for 40-50 minutes or until the top is golden brown and the middle is set.
- Remove the cheesecake from the oven(and the water bath) and allow it to cool at room temperature for 30 minutes to 1 hour.
- Place the cheesecake in the fridge and allow it to chill for 3-4 hours or overnight.
Top the cheesecake
- Once the cheesecake has chilled, release the springform pan, and transfer the cheesecake to a plate or cake stand.
- With the back of a spoon gently spread the cooled cherry pie filling over the top in an even layer. Sprinkle with chocolate shavings, then cut into 12 slices, serve, and enjoy!
Notes
Nutrition
Nutrition information is automatically calculated, so should only be used as an approximation.
