Easy Homemade Watermelon Popsicles
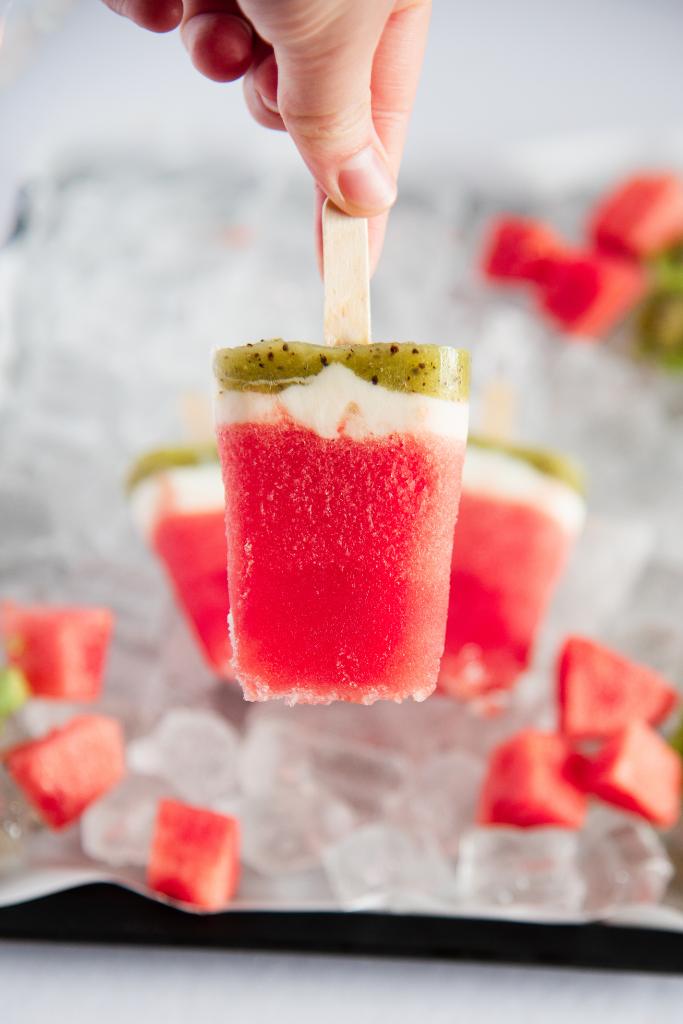
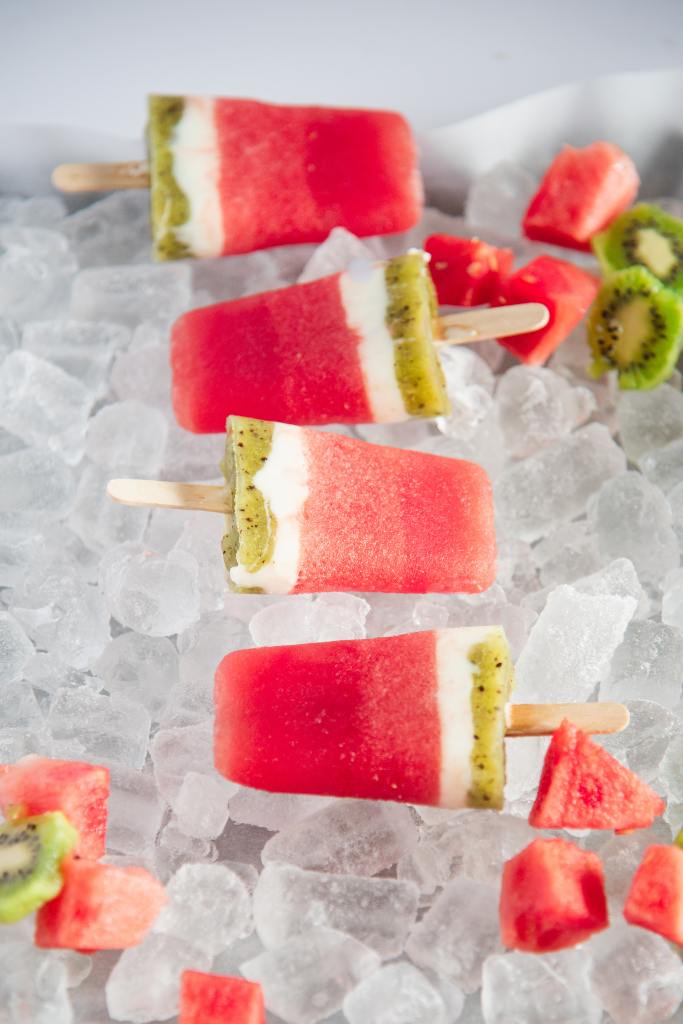
These quick and easy-to-make homemade watermelon popsicles make the perfect sweet treat for any hot summer day! Plus they are naturally sweetened, and call for just 3 simple ingredients!
As an Amazon Associate, I earn a small commission from qualifying purchases at no extra cost to you. This post may contain affiliate links. For more information see my full disclosure here.
There are few things I like better than juicy watermelon on a hot day. Somehow fresh fruit always seems to hit the spot and helps me to survive the summer heat.
And while I would be perfectly fine eating nothing but chilled fruit during the summer, the kids in my family don’t always agree. Thankfully this recipe creates the perfect combination of fresh fruit and a frozen treat!
While I prefer store-bought ice cream, most kids, especially younger ones, prefer to eat popsicles on a hot afternoon.
Most parents prefer them too, as popsicles not only make the perfect on-the-go snack during the summer. But they also require zero dishes to eat and all in all, are a lot less messy than eating ice cream or ice cream cones.
So while I don’t eat popsicles nearly as often as I used to, I can definitely understand why they might just be the most popular summer treat!
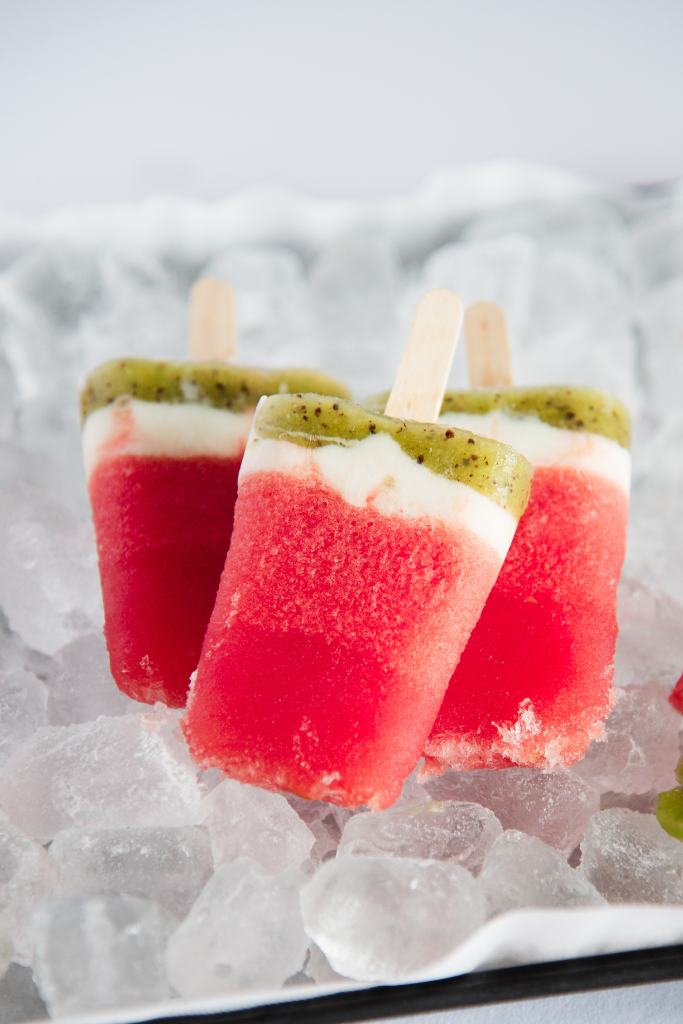
And these fresh watermelon popsicles are sure to be a hit with everyone, plus they are super easy to make! With just 3 ingredients these popsicles can be made in less than an hour, and easily chilled overnight. There is no added sugar or sweetener, meaning they are way healthier than anything you’ll find in the grocery store!
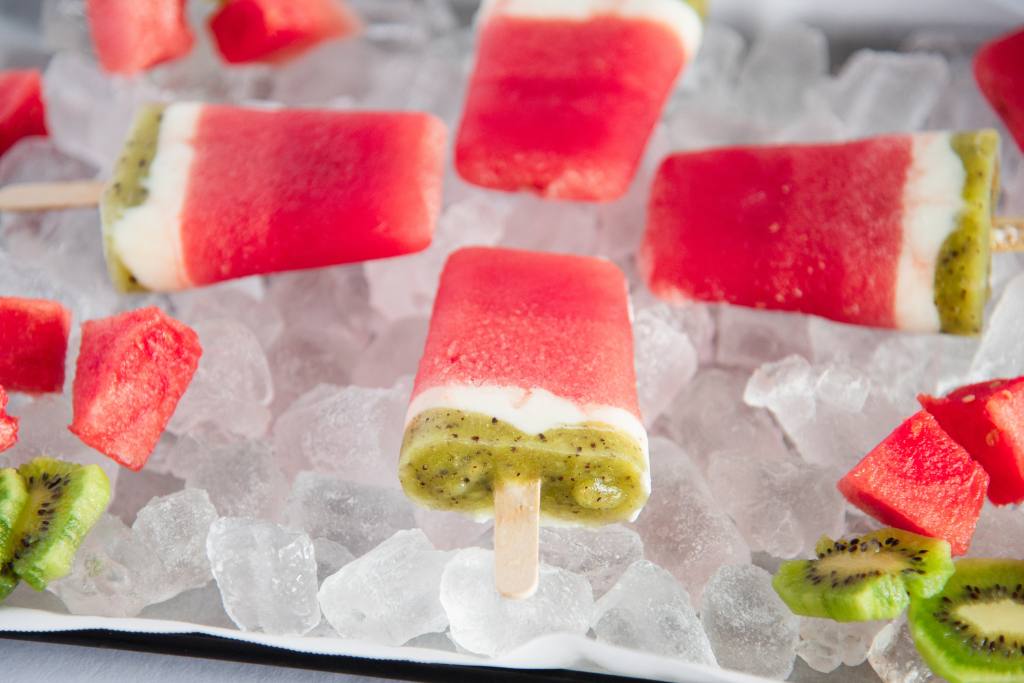
Not to mention these delicious watermelon popsicles are the perfect treat for any hot afternoon, while their fun layers and bright color make them perfect for any summer party!
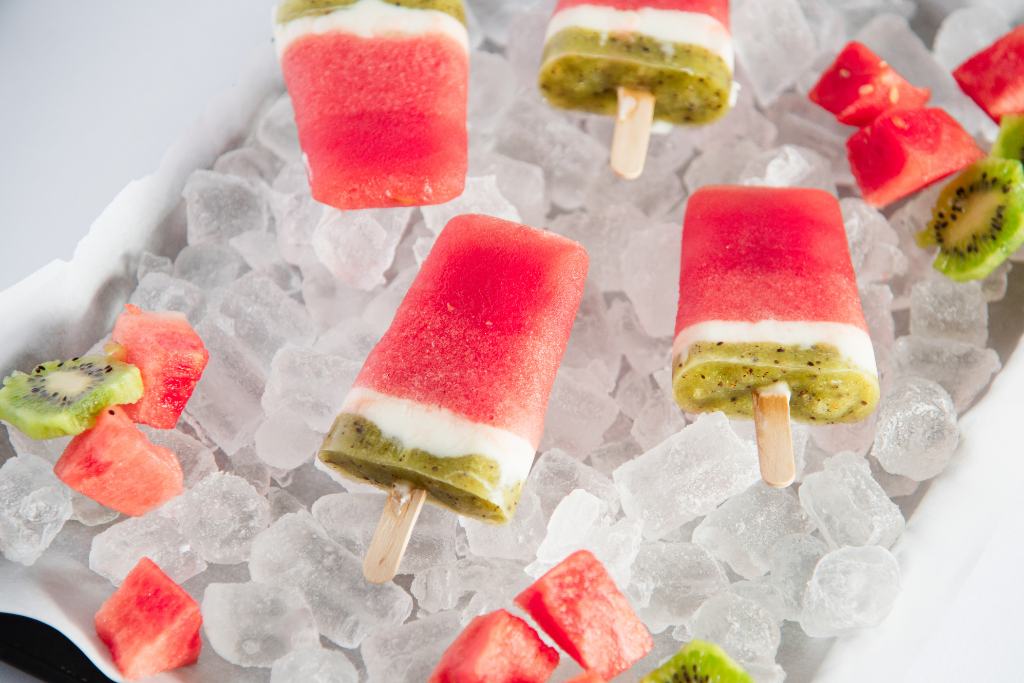
Watermelon Popsicles Recipe
Equipment
- popsicle molds
- popsicle sticks. I like to use wooden sticks, but you can also use the plastic popsicle sticks that come with most molds!
- food processor or upright blender
- plastic squeeze bottles, optional
- freezer bags or a freezer-safe container for storage
Ingredients
- fresh ripe watermelon, cut into chucks
- fresh kiwis, peeled and quartered
- vanilla yogurt, regular, or Greek
How to Make Watermelon Popsicles
Place the watermelon chunks into an upright blender or food processor, and blend until smooth.
Carefully pour the watermelon puree into your popsicle mold, leaving roughly an inch of space at the top. Place a popsicle stick in each full mold, doing your best to make sure the popsicle sticks are touching the bottom of the mold.
Place the popsicles in the freezer and allow them to freeze for 30-40 minutes.
In the meantime, blend your kiwis in your food processor or blender until smooth.
Now you can either create the layers on the popsicles, by carefully spooning the yogurt and the kiwis puree onto the watermelon layer. Or you can transfer the puree and the yogurt to squeeze bottles. This does create an extra step and a bit more cleanup, but it also makes layering much easier and faster!
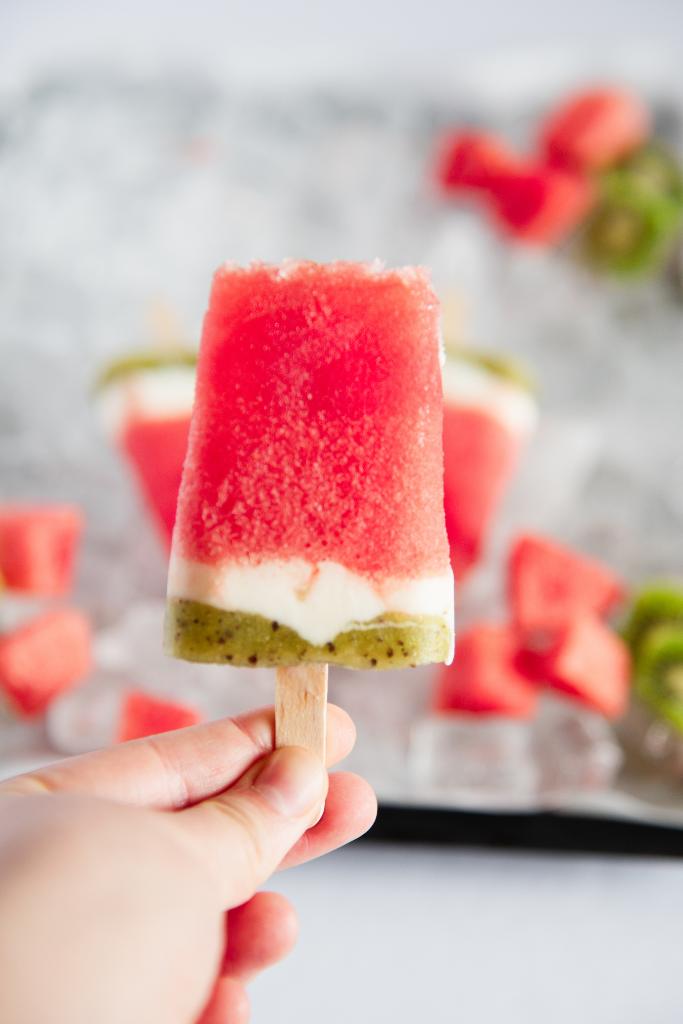
Remove the popsicles from the freezer and add the yogurt layer, filling roughly half of the 1-inch space. Next carefully add the kiwi layer on top of the yogurt, filling the remaining 1/2-inch space. Return the popsicles to the freezer and allow them to freeze until completely solid, about 4-6 hours.
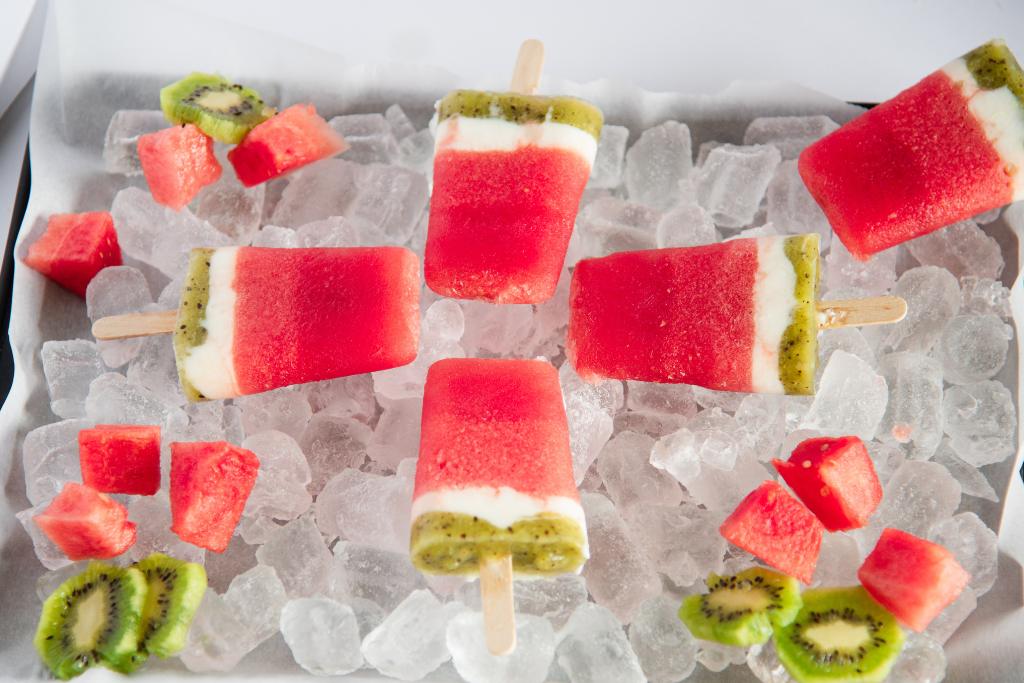
Once the popsicles are frozen solid, remove them from the mold(see my tips and tricks below!) and place them on a parchment paper-lined baking sheet.
Return the popsicles to the freeze and allow them to freeze for 10-15 minutes. This step can be skipped, but I like to ensure they are completely frozen before transferring them to a storage container.
Place the finished popsicles in a freezer bag or a freezer-safe air-tight container, and place them in the freezer until ready to eat.
Enjoy!
Recipe Notes
These watermelon popsicles can be stored in an air-tight container or freezer bag in the freezer for 2-3 months!
Try adding blueberries or chocolate chips to the watermelon mixture of your popsicles before freezing, to make it look like your popsicles have watermelon seeds! You can also add some fresh lime juice or lime zest to the watermelon puree, to even more refreshing frozen treat!
If the watermelon puree or the kiwi puree isn’t sweet enough for your liking, try adding 2-3 tbsp of sweetener, and blending the mixture again until smooth. I like to use honey or maple syrup, but you can also use white sugar or cane sugar.
You can also add additional pureed fruit and fruit juice to your popsicles, this is a great way to use up any ripe fruit you might have on hand.
Plus you can create fun new flavors! Try adding coconut milk to create coconut watermelon popsicles, or add some fresh strawberries to your watermelon mixture to create strawberry watermelon popsicles.
How to get homemade popsicles out of the mold
Getting your popsicles out of the mold can often be tricky, and is honestly one of the hardest parts of making homemade popsicles. Thankfully I found, a quick, easy, and nearly fool-proof way to get popsicles out of the mold!
Fill a dish, or a sink, that is roughly the height of your mold, with warm water(warm NOT hot water). Gently place the mold in the water, be sure that the water doesn’t touch the popsicles themselves, just the mold. Allow the mold to sit in the water for 20-30 seconds, remove it from the water, gently wiggle the popsicles around, and pull them out.
Again I like to place mine on a baking sheet and put them back in the freezer. This allows them to freeze solid again, without sticking to each other!
Looking for more popsicle recipes? Be sure to check out these!
Pineapple Mango Kombucha Popsicles
Watermelon Kombucha Popsicle recipe
Watermelon Popsicles
Equipment
- popsicle molds
- popsicle sticks I like to use wooden sticks, but you can also use the plastic popsicle sticks that come with most molds!
- food processor or upright blend
- plastic squeeze bottles optional
- freezer bags or a freezer-safe container for storage
Ingredients
- 1/2 of a fresh ripe watermelon cut into chucks
- 3-4 fresh kiwis peeled and quartered
- 1/2 cup vanilla yogurt regular, or Greek
Instructions
- Place the watermelon chunks into an upright blender or food processor, and blend until smooth.
- Carefully pour the watermelon puree into your popsicle mold, leaving roughly an inch of space at the top. Place a popsicle stick in each full mold, doing your best to make sure the popsicle sticks are touching the bottom of the mold.
- Place the popsicles in the freezer and allow them to freeze for 30-40 minutes.
- In the meantime, blend your kiwis in your food processor or blender until smooth.
- Now you can either create the layers on the popsicles, by carefully spooning the yogurt and the kiwis puree onto the watermelon layer. Or you can transfer the puree and the yogurt to squeeze bottles. This does create an extra step and a bit more cleanup, but it also makes layering much easier and faster!
- Remove the popsicles from the freezer and add the yogurt layer, filling roughly half of the 1-inch space. Next carefully add the kiwi layer on top of the yogurt, filling the remaining 1/2-inch space. Return the popsicles to the freezer and allow them to freeze until completely solid, about 4-6 hours.
- Once the popsicles are frozen solid, remove them from the mold(see my tips and tricks below!) and place them on a parchment paper-lined baking sheet.
- Return the popsicles to the freeze and allow them to freeze for 10-15 minutes. This step can be skipped, but I like to ensure they are completely frozen before transferring them to a storage container.
- Place the finished popsicles in a freezer bag or a freezer-safe air-tight container, and place them in the freezer until ready to eat.
- Enjoy!
Notes
Nutrition
Nutrition information is automatically calculated, so should only be used as an approximation.
